 GameWiki
GET YOUR BEARINGS
About Stardew Valley
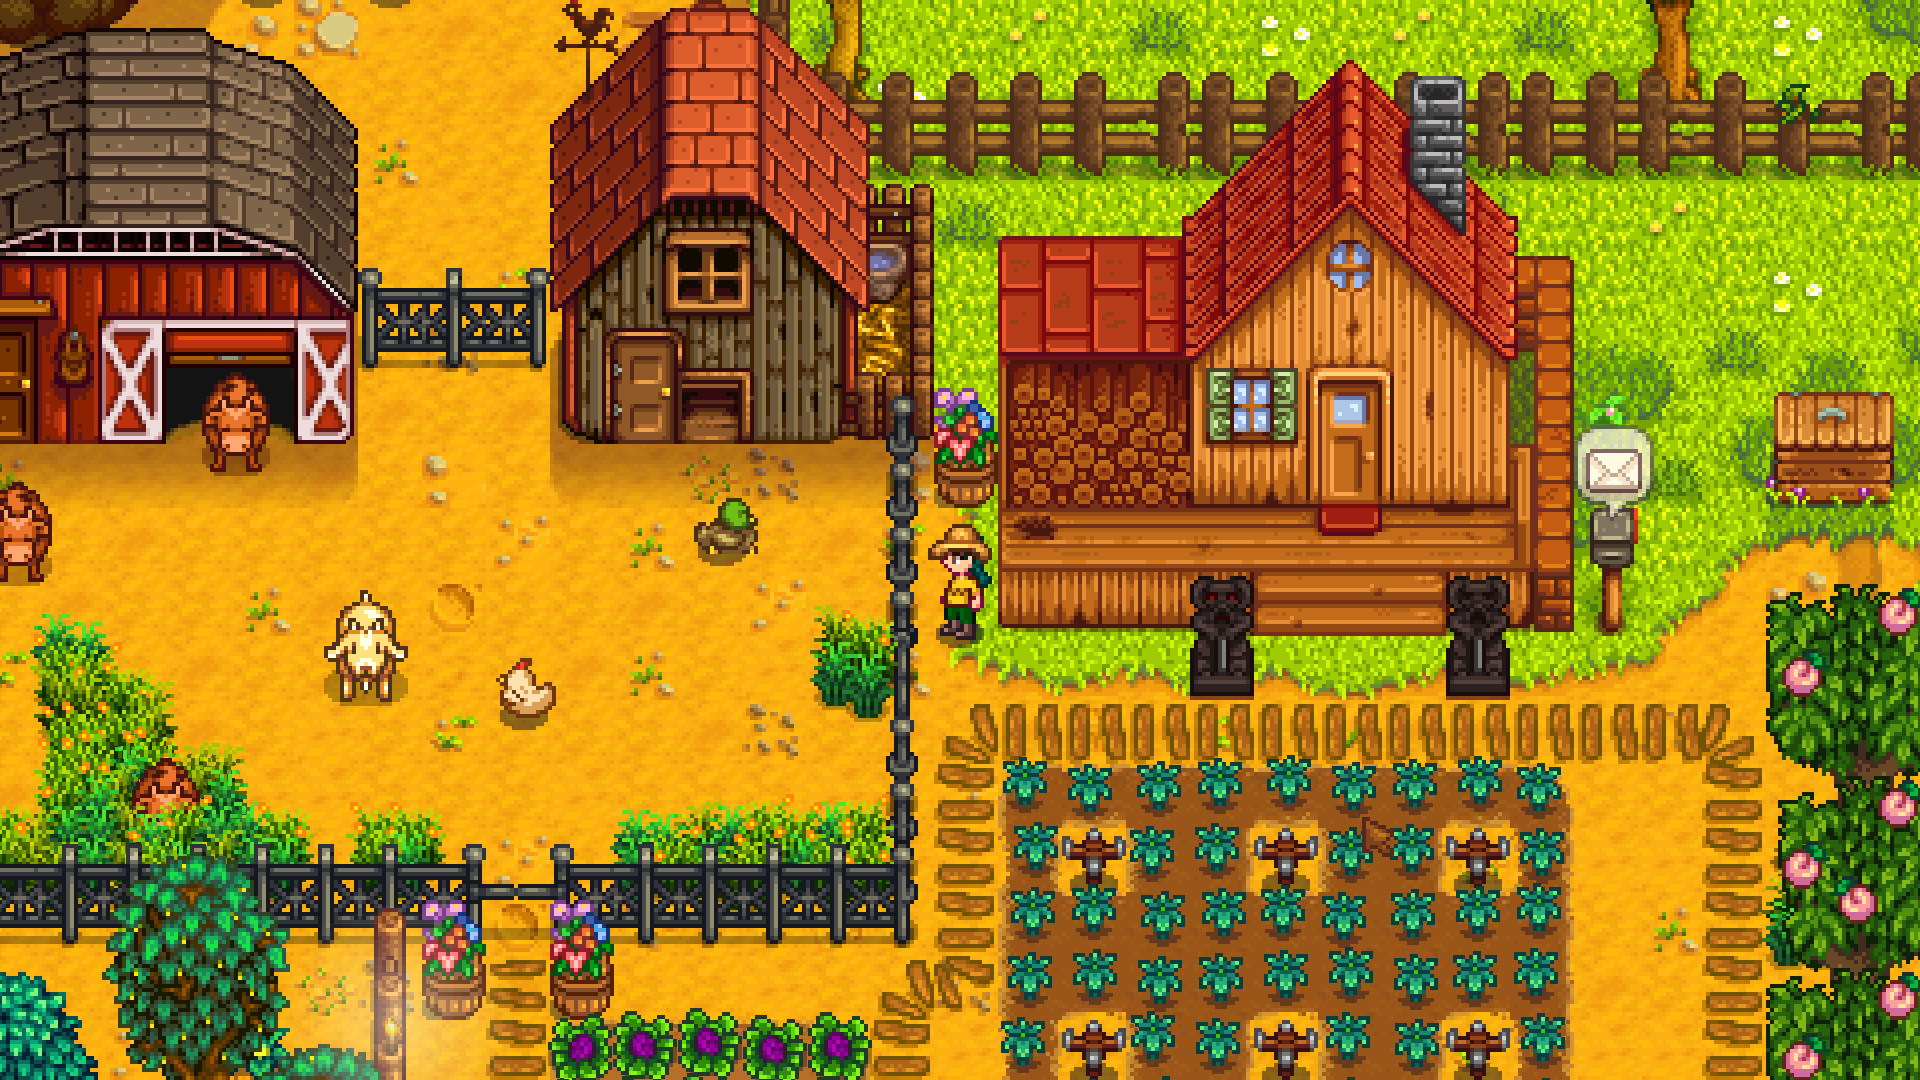
Stardew Valley connects farming, fishing, mining, crafting, and village relationships through a shared calendar. Your most useful early resource is time: every crop patch creates a watering commitment, every trip takes part of the day, and every purchase competes with your next upgrade. A small farm that leaves time for exploration often develops more comfortably than a field you can barely finish watering.
This wiki focuses on a practical first-year foundation rather than a perfect-profit schedule. Learn how seasons affect crops, reserve items for bundles, open reliable mine routes, and choose improvements that remove daily chores. There is room to specialize later, whether your favorite activity becomes raising animals, producing artisan goods, completing collections, or simply designing a farm you enjoy visiting.
01 / THE GUIDE
Your first week: make a manageable routine
Clear enough ground for your first crops and a useful walking route, then stop. Clearing the entire farm immediately consumes energy that could fund fishing, gathering, or meeting villagers. Keep wood, stone, fiber, and seeds in a chest instead of selling materials just because you have no immediate recipe for them.
Use your morning to check weather, water crops, and choose one main trip. The mountain, beach, and town each reward a different preparation. Carry the tools needed for that trip, leave space for discoveries, and decide when to return before a full inventory or low energy makes the choice for you.
- Build your first chest near the farmhouse.
- Keep an energy snack before leaving the farm.
- Treat a rainy morning as a chance for a longer expedition.
- Read letters and check the calendar when visiting town.
02 / THE GUIDE
Crops and seasons: count the remaining harvests
A season lasts 28 days. Most crops die when their growing season ends, while crops listed for consecutive seasons can continue between those seasons. Read the seed description before buying late in the month: a crop that cannot mature in time is a loss even if its usual sale price looks attractive.
Consider watering effort alongside the price of a seed. Regrowing crops can provide repeated harvests after their first growth cycle, but you still need the calendar and daily routine to support them. Reserve some money for the next season rather than spending everything on a final purchase that leaves no budget for replacement seeds.
- Check growth days before every late-season planting.
- Keep bundle crops separate from your selling stack.
- Add sprinklers where they remove an actual daily task.
- Leave walking space around trellises so crops remain reachable.
03 / THE GUIDE
Community Center: save seasonal items before selling
Community Center bundles ask for collections of crops, forage, fish, animal products, and other resources. Completing individual bundles provides rewards; completing an entire room produces a larger restoration benefit. Look through the available scrolls before choosing which new farm investment matters most to your current progress.
Create a dedicated bundle chest and store likely donations as they appear. A missing seasonal item can require waiting for its next opportunity. Some bundles show more eligible items than the number of required donation slots, so inspect the actual requirement instead of assuming that every displayed product must be supplied.
- Check seasonal forage before shipping your last example.
- Read fish requirements for weather and time restrictions.
- Choose an affordable option when a bundle accepts alternatives.
- Decide deliberately between Community Center and Joja progression.
04 / THE GUIDE
The Mines: connect ore, combat, and tool upgrades
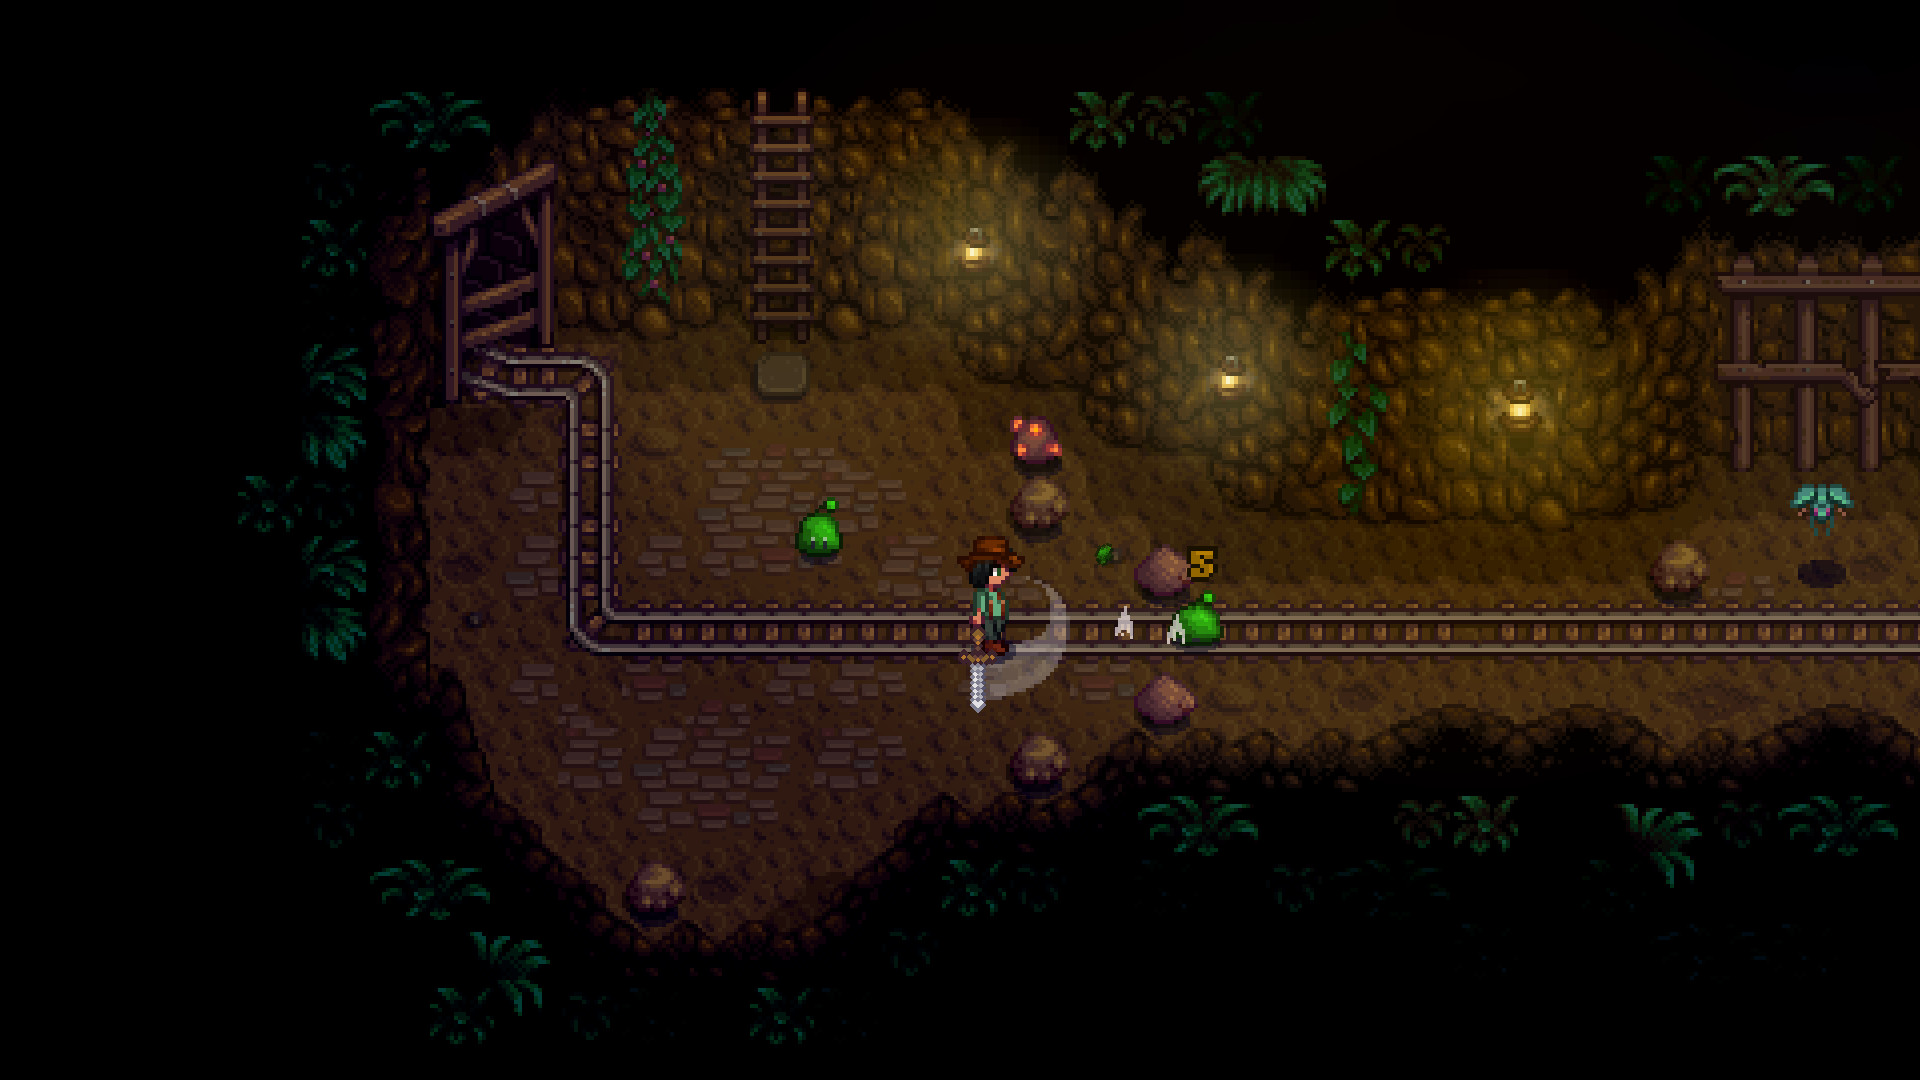
The mountain Mines open early in your first spring and introduce a second progression route beneath the farming routine. Deeper areas offer different ores and enemies. Use the elevator checkpoints to turn repeated visits into steady progress rather than trying to clear the whole mine in a single exhausted session.
Bring food, a usable weapon, and free inventory slots. When health begins falling faster than food can safely restore it, protecting the trip is more useful than chasing one additional ladder. Match the ore you gather to a concrete goal such as a tool upgrade or sprinkler recipe, and plan around the period when the blacksmith will hold your tool.
- Aim for the next elevator checkpoint before changing goals.
- Separate health management from your remaining energy.
- Store ore and coal together for convenient smelting.
- Schedule watering-can upgrades around weather and crop needs.
05 / THE GUIDE
Grow the farm without turning every day into chores
Animals and processing machines add dependable activities but also create new requirements. A coop needs a feeding plan, artisan production needs regular inputs, and a larger field needs irrigation. Buy the next building because it advances a collection, recipe, or routine you actually want, rather than because the option has become available.
Place related tasks together: crops near their processing machines, storage near crafting stations, and animal supplies near the buildings that use them. Keep time for villagers and exploration. Relationships, festivals, and side activities are part of the game's progression, and a profitable farm should support those activities instead of consuming the entire day.
- Prepare feed before expanding your livestock.
- Group machines by the ingredients they consume.
- Save money for seeds and upgrades after a building purchase.
- Choose one seasonal collection goal alongside your income goal.
COMMUNITY
Player discussion