 GameWiki

GET YOUR BEARINGS
About Elden Ring
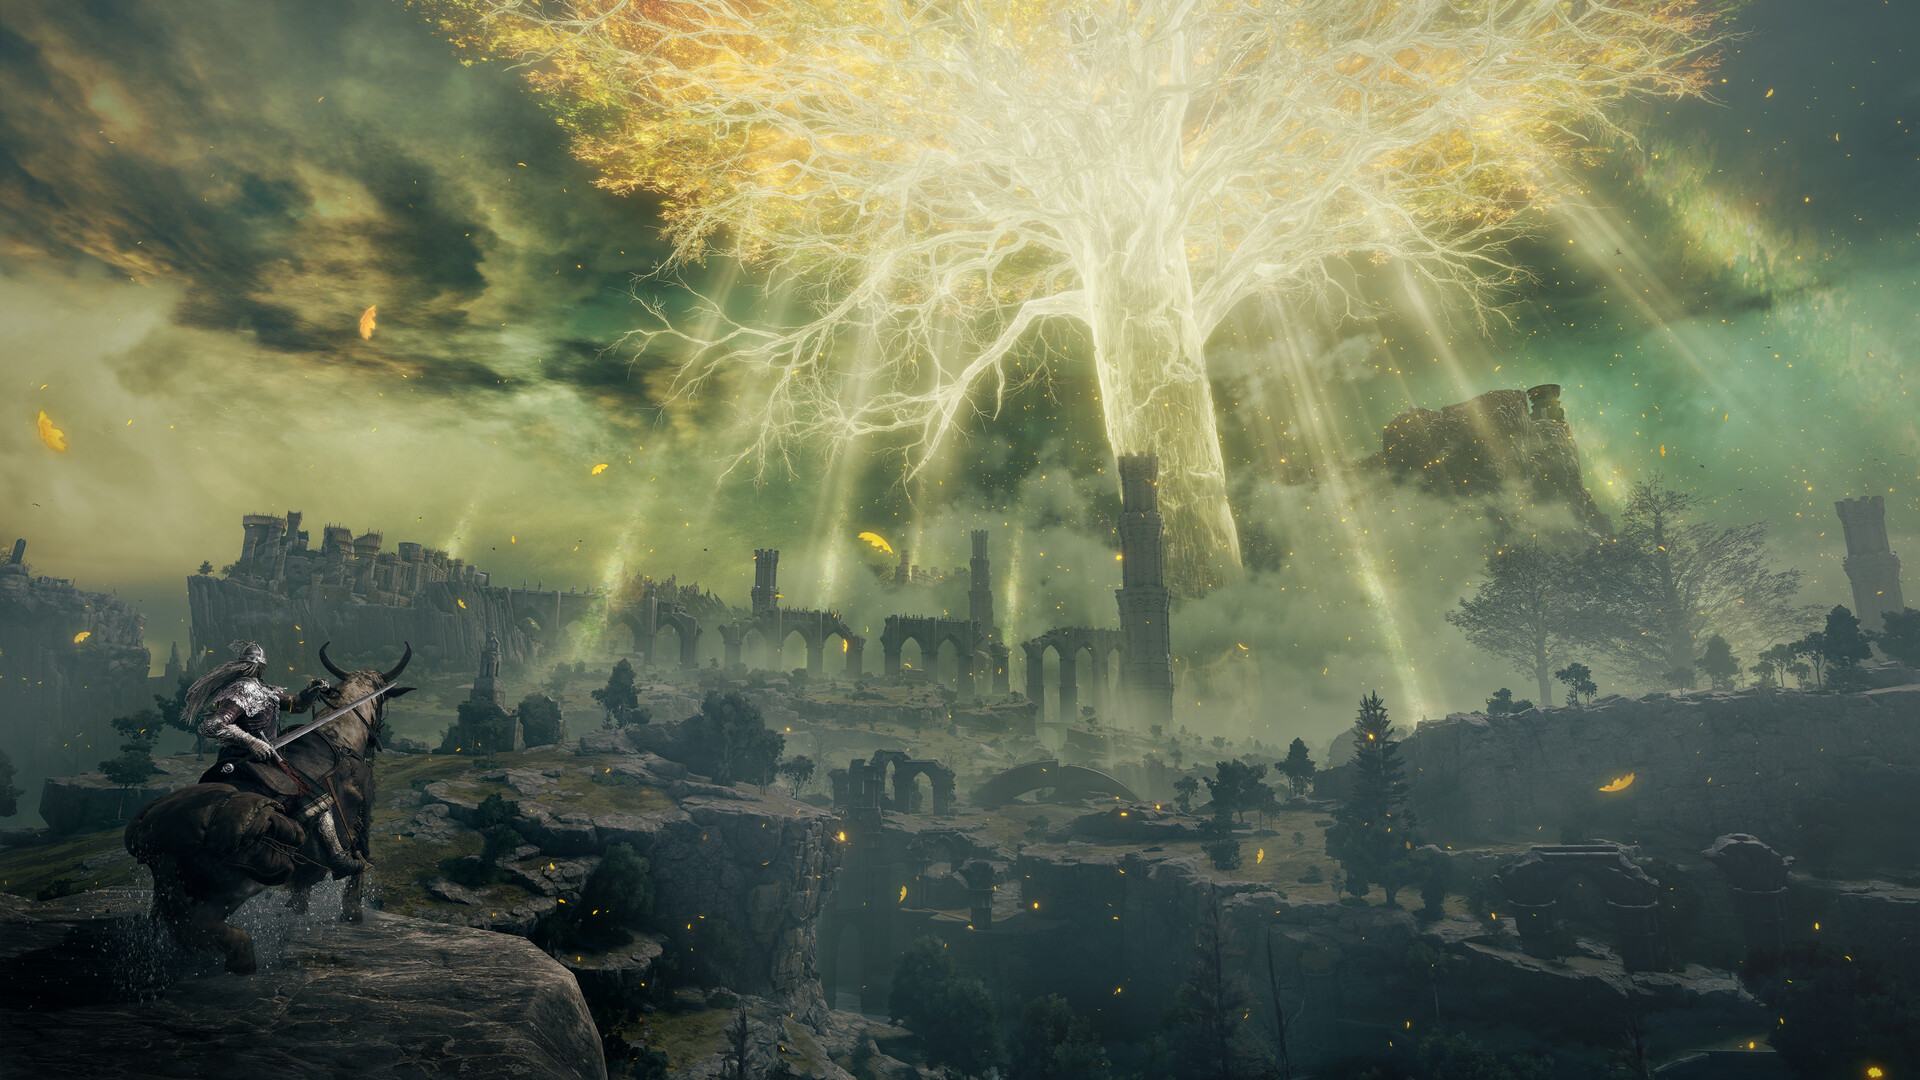
Elden Ring combines an interconnected open world with deliberate action combat, character building, and optional discoveries. The Lands Between offer several useful directions at once, so progress does not always mean defeating the nearest major opponent. Finding a map fragment, improving a weapon, opening a shortcut, or learning a dependable defensive response can all make the next attempt meaningfully different.
This wiki concentrates on the base game's early decisions and stable systems. It avoids prescribing a single boss order or a patch-specific strongest build. Follow the numbered topics for a practical starting point, then use the linked detailed guides when you want to concentrate on combat, preparation, or exploration.
01 / THE GUIDE
Start in Limgrave with a useful exploration loop
Visit Sites of Grace as you explore and use them to organize short trips. Look for the faint monument symbols that help locate map fragments, then compare the revealed roads with landmarks you can actually see. Choose a nearby destination and a return point instead of moving between every distant structure that catches your attention.
Early mines, caves, ruins, and smaller encounters can provide equipment and upgrade materials while you learn. If a field enemy consistently defeats you, leave a marker and try a different branch. Returning with a stronger weapon or a better understanding of movement is part of the intended value of an open world, not evidence that you chose the wrong character.
- Collect the local map before planning a long route.
- Rest and spend runes before deliberately entering danger.
- Record the reason you want to revisit a cave or ruin.
02 / THE GUIDE
Read stamina and equipment load before chasing damage
Attacking, guarding, and evading compete for stamina. Spend the first exchange learning the enemy's reach, then use a short attack sequence that leaves a defensive response available. A full stamina bar is not a reason to begin a long combo when the enemy is still in the middle of its own sequence.
Check the equipment-load category after adding armor or another weapon. An unfamiliar dodge rhythm can come from a load change rather than a harder enemy. Test the dodge on safe ground and compare protection with your ability to reposition. A shield also needs deliberate stamina management; holding it through every hit can leave you unable to act when the opening arrives.
- Check load after changing armor or carrying another weapon.
- Finish an attack with enough stamina to respond.
- Use the end of an enemy sequence as your first reliable punish.

03 / THE GUIDE
Match attributes and smithing materials to one weapon
Read the weapon's attribute requirements before investing in damage statistics. Meet the requirements for a tool you enjoy, then compare upgrades with spending several levels across unrelated attributes. Vigor supports surviving mistakes, while the rest of the build should make your chosen combat method usable rather than merely filling out a balanced-looking character sheet.
Regular and somber weapon upgrade paths use different smithing materials. Check the exact material and tier requested at the upgrade interface before searching for more stones. Improve a small set of equipment you actually use, and compare the weapon's moveset and practical reach as well as the displayed attack value. A weapon you can land safely often produces better results than a theoretical upgrade you cannot control.
- Check requirements and upgrade path before committing materials.
- Choose a main weapon by its moveset, not just its name.
- Use mines as a focused material destination when an upgrade is blocked.
04 / THE GUIDE
Prepare healing, summons, and a repeatable boss attempt
Reach the arena using a route you can repeat without wasting healing. Put important consumables and your preferred recovery items where you can select them under pressure. Learn a safe healing opportunity from the boss's recovery instead of drinking immediately whenever your health drops.
Spirit Ashes, spells, weapon skills, and cooperative help give you different ways to approach a difficult encounter. Check their requirements and the conditions under which they can be used. If you choose to learn the fight alone, begin with an observation goal; if you bring support, still watch for attacks that change targets. The useful question is which tool answers the problem that ended your last attempt.
- Name one dangerous sequence before the next attempt.
- Prepare quick items before entering the arena.
- Change one tool or response at a time.
05 / THE GUIDE
Track quests, return points, and expansion boundaries
NPC conversations and environmental clues can give context without a conventional checklist of objectives. Revisit important dialogue, record the character's location, and note any named place or request. Mark an unresolved path with a short explanation so that it remains understandable after several sessions away.
Keep base-game progression separate from advice written for Shadow of the Erdtree or another Elden Ring title. An expansion guide can assume equipment, access conditions, and mechanics that do not belong in your opening journey. When an old video shows a different value or interaction, check the official update source before rebuilding a character around it.
- Write down the last confirmed step in an NPC conversation.
- Distinguish a new ability requirement from a difficult jump.
- Check whether a guide covers the base game or an expansion.


COMMUNITY
Player discussion