 GameWiki
GET YOUR BEARINGS
About Satisfactory
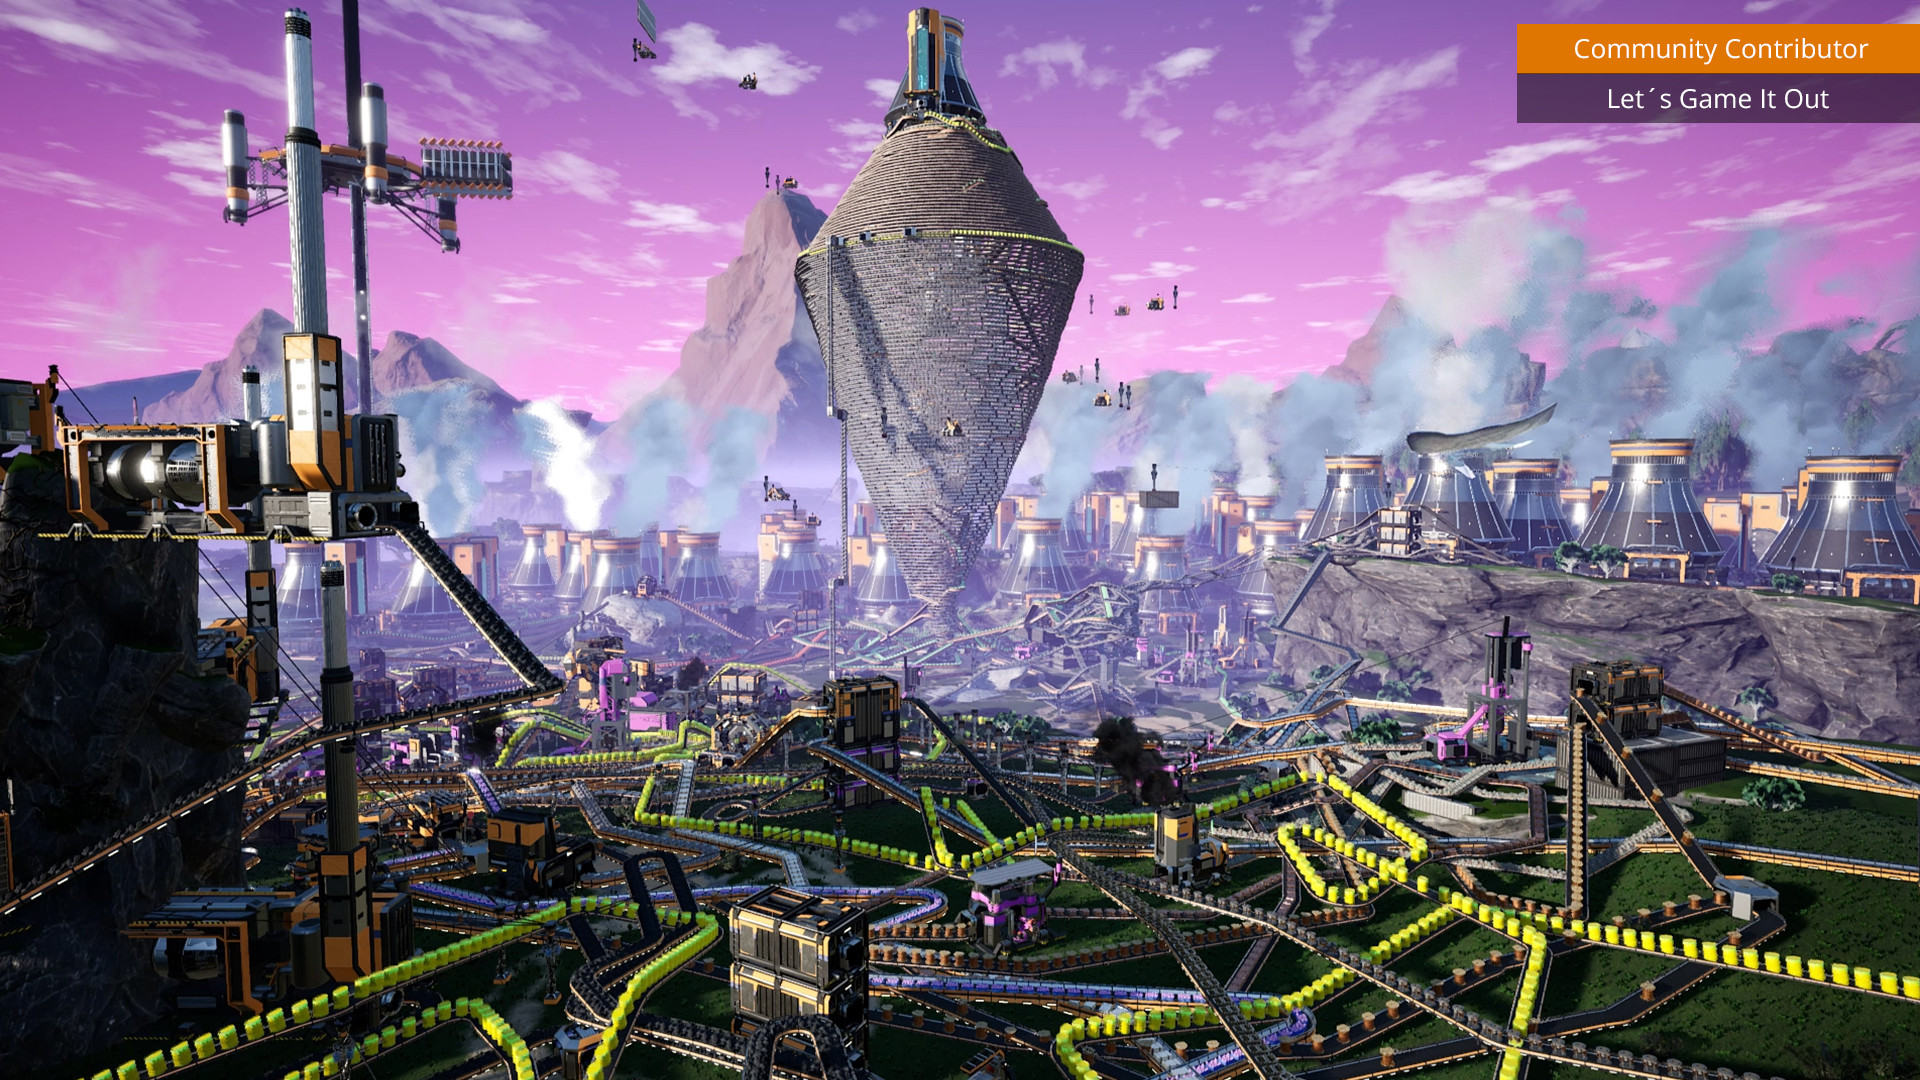
Satisfactory turns a first-person alien-world expedition into a network of automated mines, processors, conveyors, power systems, and transport links. Progress is visible both in the items your factory delivers and in the infrastructure that allows you to leave it running. The most useful opening factory is not necessarily the largest; it is one whose material flow you can follow without guessing.
This guide explains how to connect production planning with HUB milestones, Space Elevator deliveries, research, and exploration. Recipe rates, alternate recipes, and available equipment should be checked in the current game's interface. Use those displayed values to choose a realistic output target, then build the supporting inputs and power before expanding the final machines.
01 / THE GUIDE
Connect mining, smelting, and construction supplies
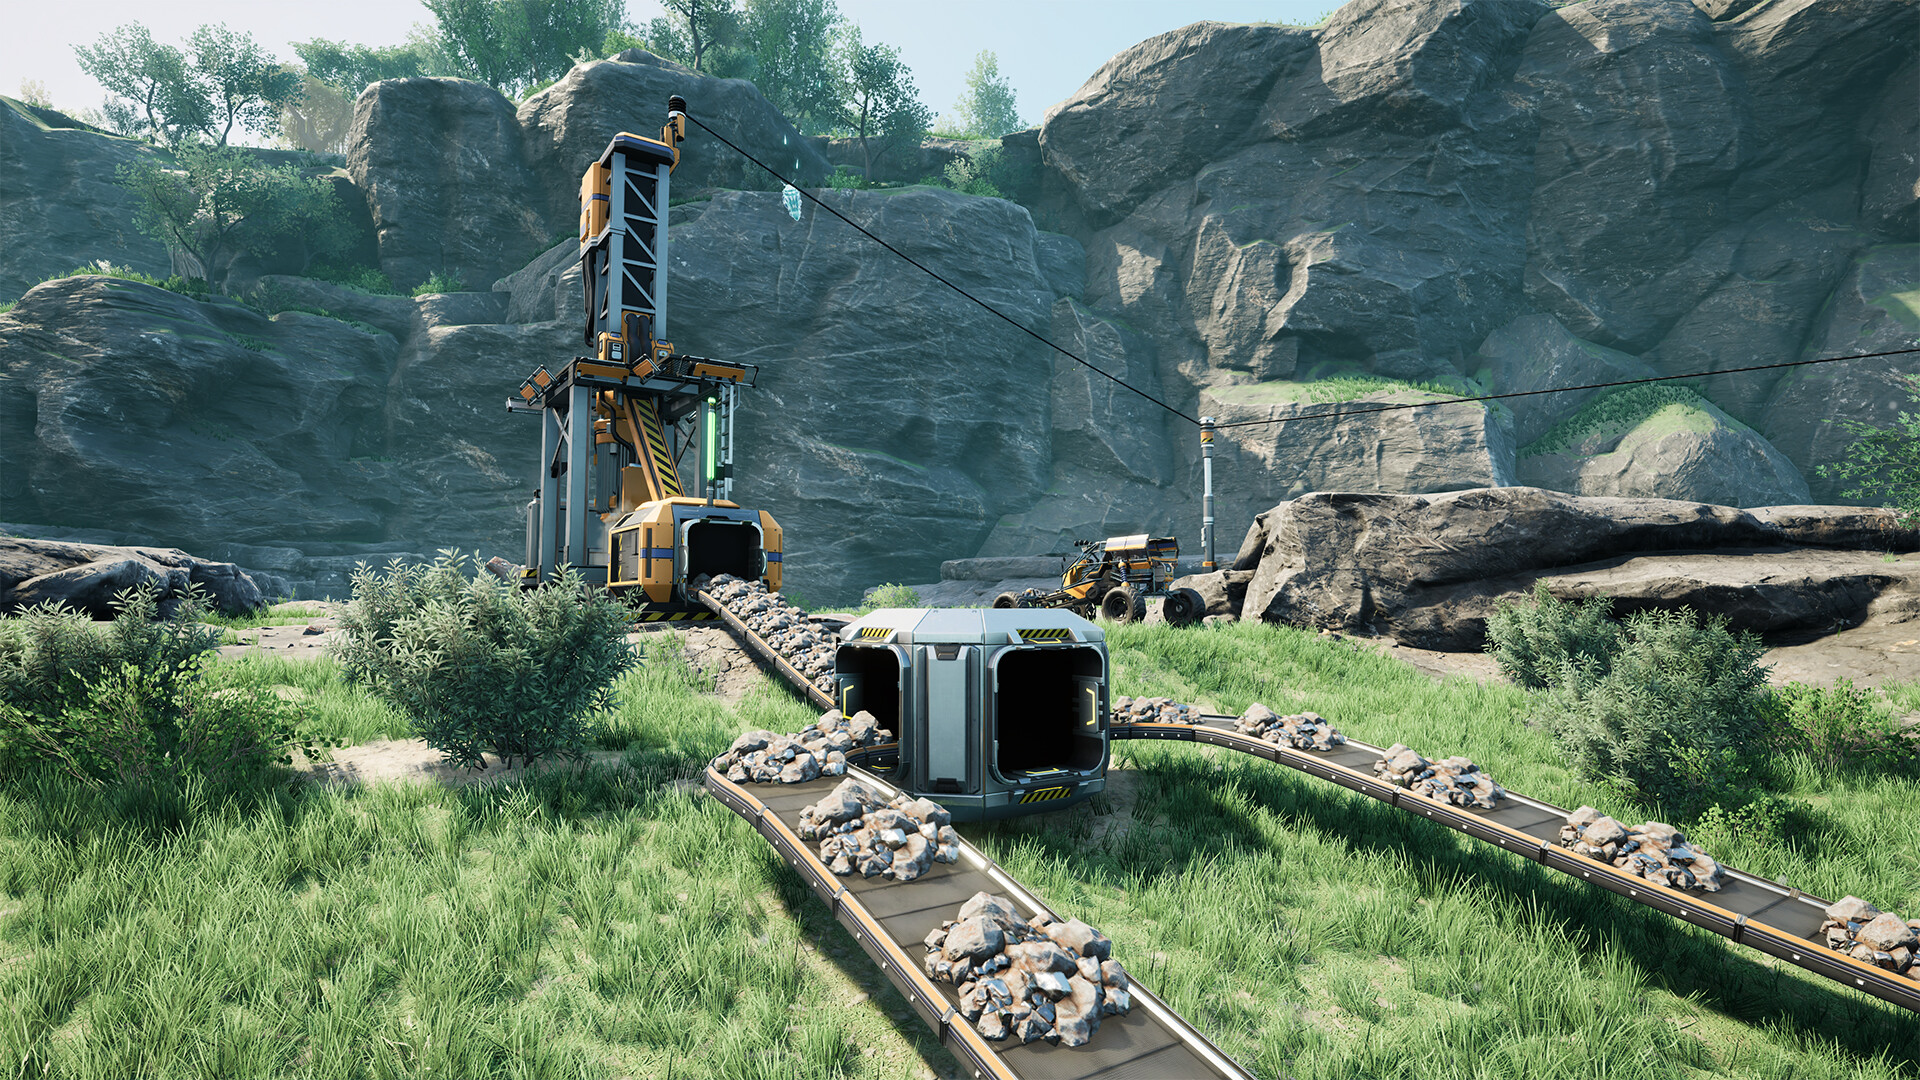
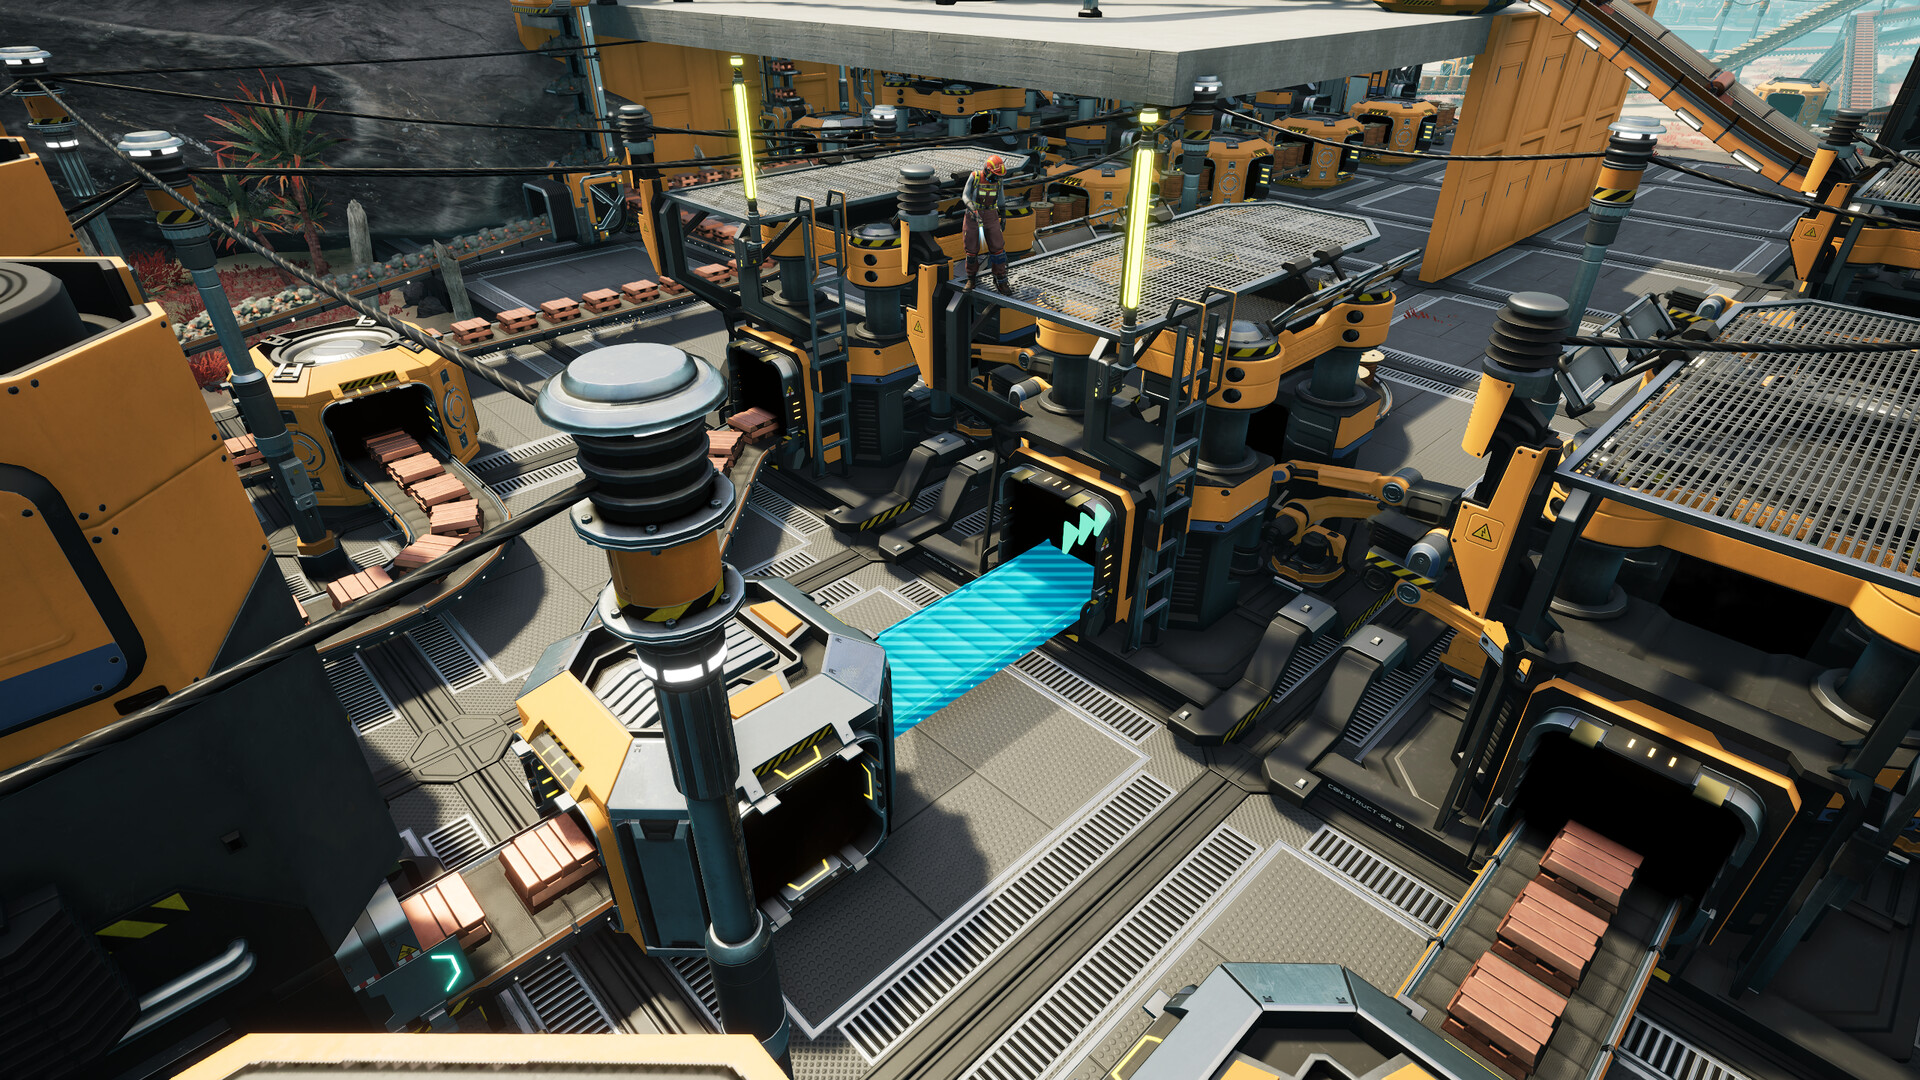
Begin with a dependable route from a resource node to a miner, smelter, and useful constructor output. Follow one item through every connection. A machine can be powered and configured yet remain idle because its input conveyor points the wrong way or the output storage is full. The final supply of plates, rods, or other building materials is the evidence that the chain works.
Use foundations and clear walking routes when they make the layout easier to expand, but avoid delaying all production until you have designed a permanent building. Keep related machines together and leave room for another conveyor or floor. A working starter line can fund the materials for a more organized replacement.
- Choose a construction item you consume often.
- Check conveyor direction at each machine port.
- Keep a readable path through the production area.
02 / THE GUIDE
Compare recipe rates with conveyor capacity
Read a machine's displayed input and output rates, then add the demand of every machine sharing the same supply. A conveyor's transport limit applies to the whole segment: merging several busy lines onto a slower belt does not preserve their combined throughput. Inspect short pieces and lifts when a long upgraded route still behaves like an older belt.
A manifold distributes items along a series of machines and can take time to fill their input buffers. Do not confuse that startup behavior with a permanent deficit. Observe the last consumers after the system has settled, then decide whether the problem is upstream supply, the transport limit, or an output that has nowhere to go.
- Add shared demand before choosing the supply belt.
- Inspect every belt segment and lift in a bottlenecked route.
- Allow a manifold to settle before judging sustained output.

03 / THE GUIDE
Build a power system that can restart
Inspect the power graph before connecting another production floor. A factory needs generation capacity for its active consumers, while storage can bridge a temporary shortage only until its stored energy is exhausted. Resetting a tripped grid without correcting the deficit generally recreates the same interruption.
Treat fuel and fluid delivery as part of the generating plant. Check the supply feeding the generators and consider what keeps essential equipment operating during a restart. A large factory is easier to recover when you can isolate nonessential consumers rather than demanding that every production building resume simultaneously.
- Read capacity and consumption before a large expansion.
- Check the generator's full fuel or fluid supply chain.
- Plan a way to disconnect nonessential loads during recovery.
04 / THE GUIDE
Choose milestones and research for a concrete unlock
HUB milestones and Space Elevator deliveries organize major progression, while the MAM provides additional research paths from materials you discover. Before collecting a large delivery, identify which unlock changes your current bottleneck. A new conveyor, transport option, or production building is most useful when the supporting materials and power are already planned.
Keep a short list of items that must remain available for construction while the factory manufactures a delivery. Emptying every storage container into a progression goal can leave you unable to build the very equipment it unlocks. When alternate recipes become available, compare the entire chain, including new ingredients and logistics, rather than only the final machine count.
- Pick the unlock that addresses your present constraint.
- Reserve construction materials before a bulk delivery.
- Compare alternate recipes against resources you can actually supply.
05 / THE GUIDE
Explore for a useful connection
Leave the factory with an exploration goal: locate an additional resource, investigate a research material, or scout a transport route. Carry building supplies, recovery items, and free inventory capacity. Record the return path and important discoveries so the trip produces usable information even when the final destination remains out of reach.
Match transport to the connection you need. Nearby production may be simplest on conveyors, while distant sites can justify a vehicle or railway once the required infrastructure is available. Include loading, unloading, power, and the return trip in the design. A route is finished when materials reach their consumer reliably, not when the road or track first looks complete.
- Bring materials for the infrastructure you expect to place.
- Mark resource discoveries before returning home.
- Test transport with a real delivery before extending the network.

COMMUNITY
Player discussion