 GameWiki
GET YOUR BEARINGS
About HEXSTORM: Tears of Arcadia
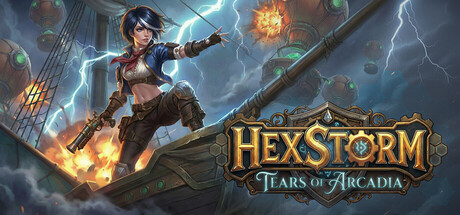
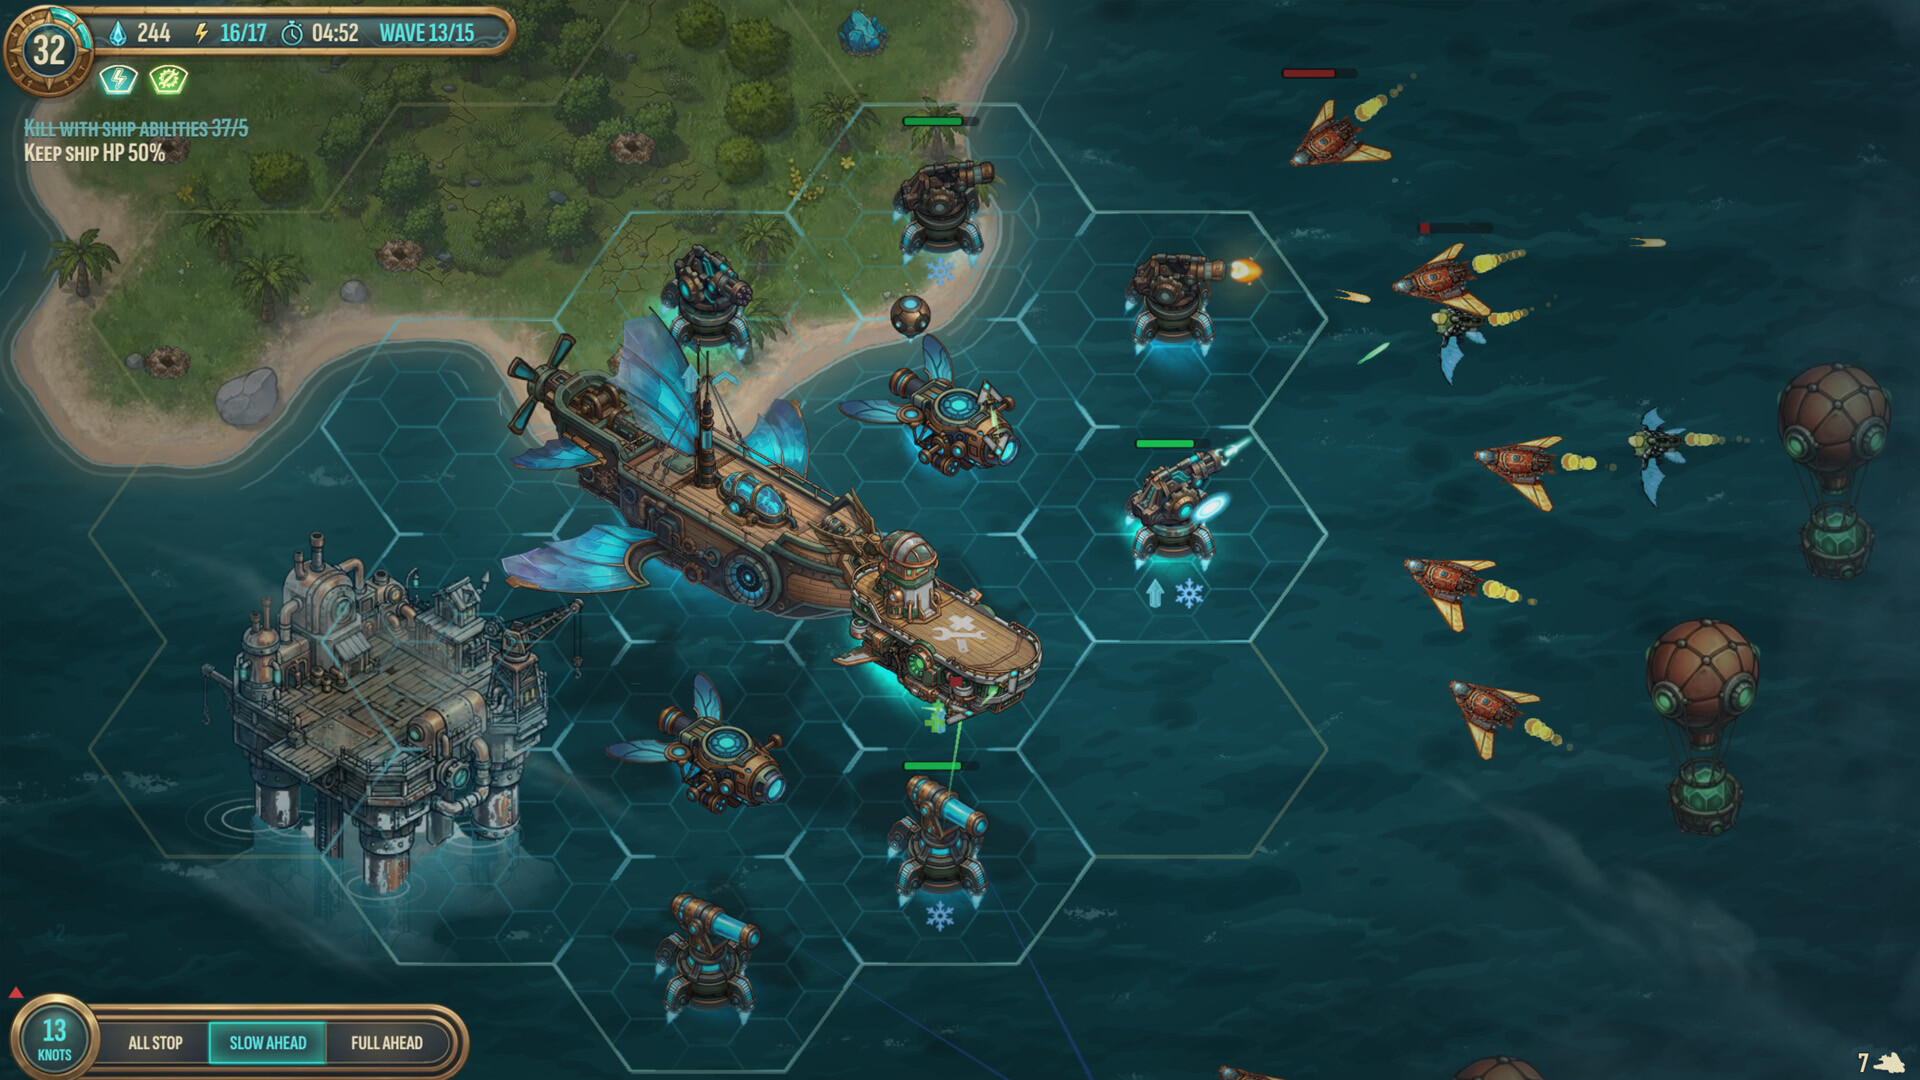
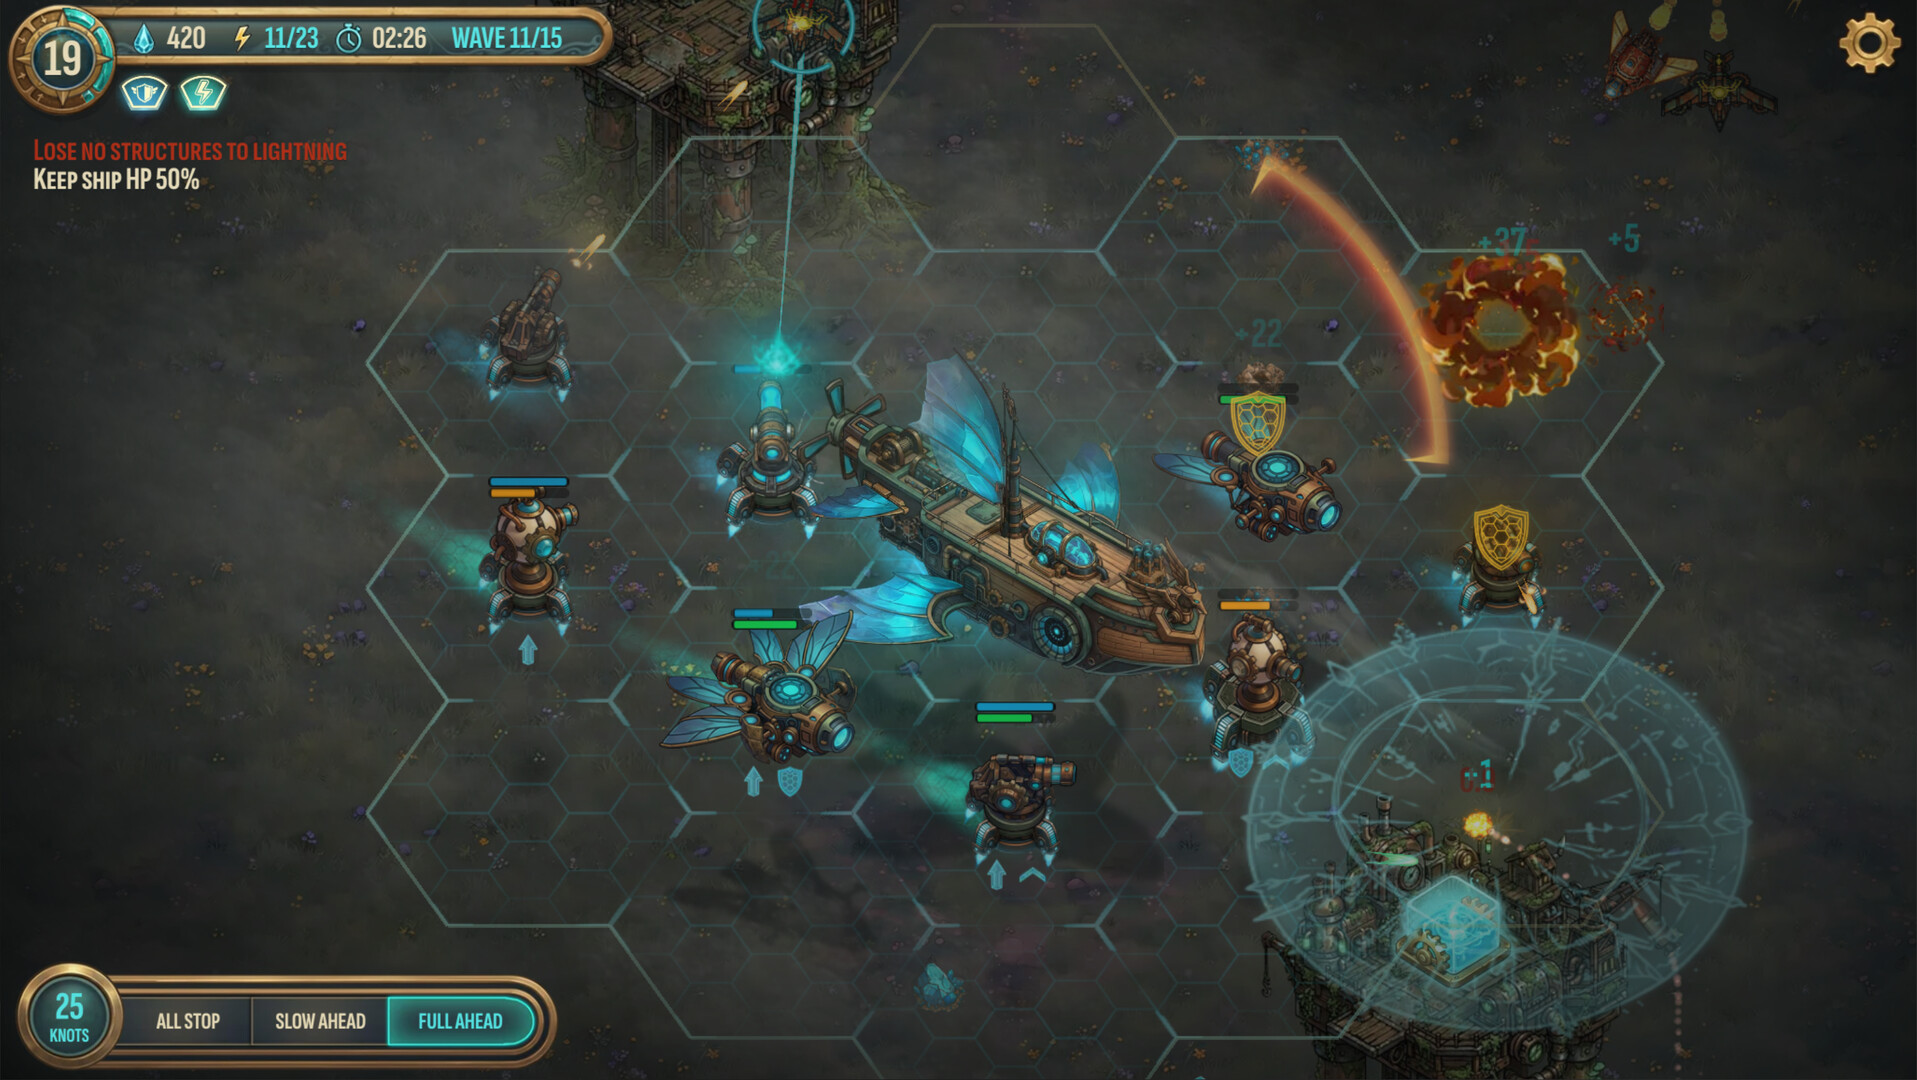
HEXSTORM: Tears of Arcadia puts you in command of the airborne citadel Arcadia. You build a web of turrets, support modules and resource collectors that act as a single, living defense rather than isolated towers.
Missions split between grounded battles on static fields and aerial runs where the world scrolls beneath you. In every case enemies strike from all sides and the fortress must survive while you balance expansion and protection.
01 / THE GUIDE
Living Defense System
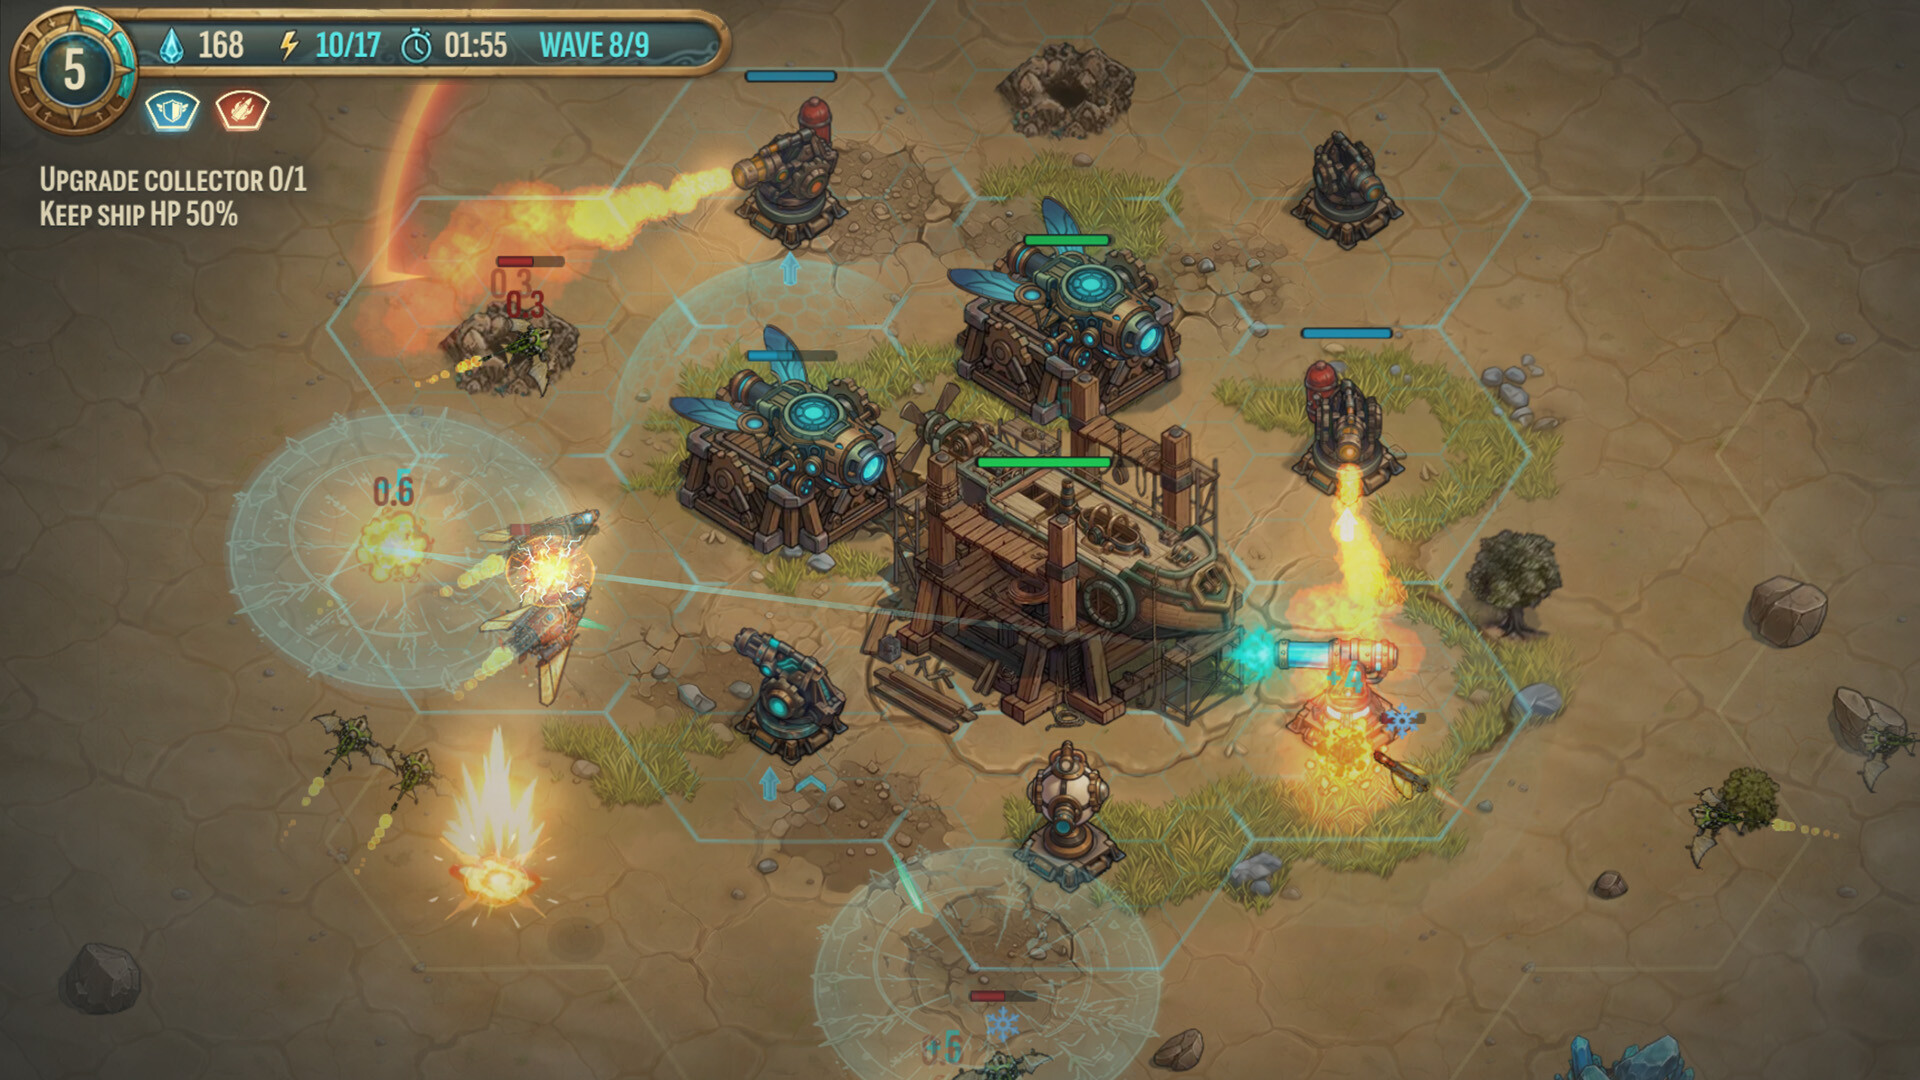
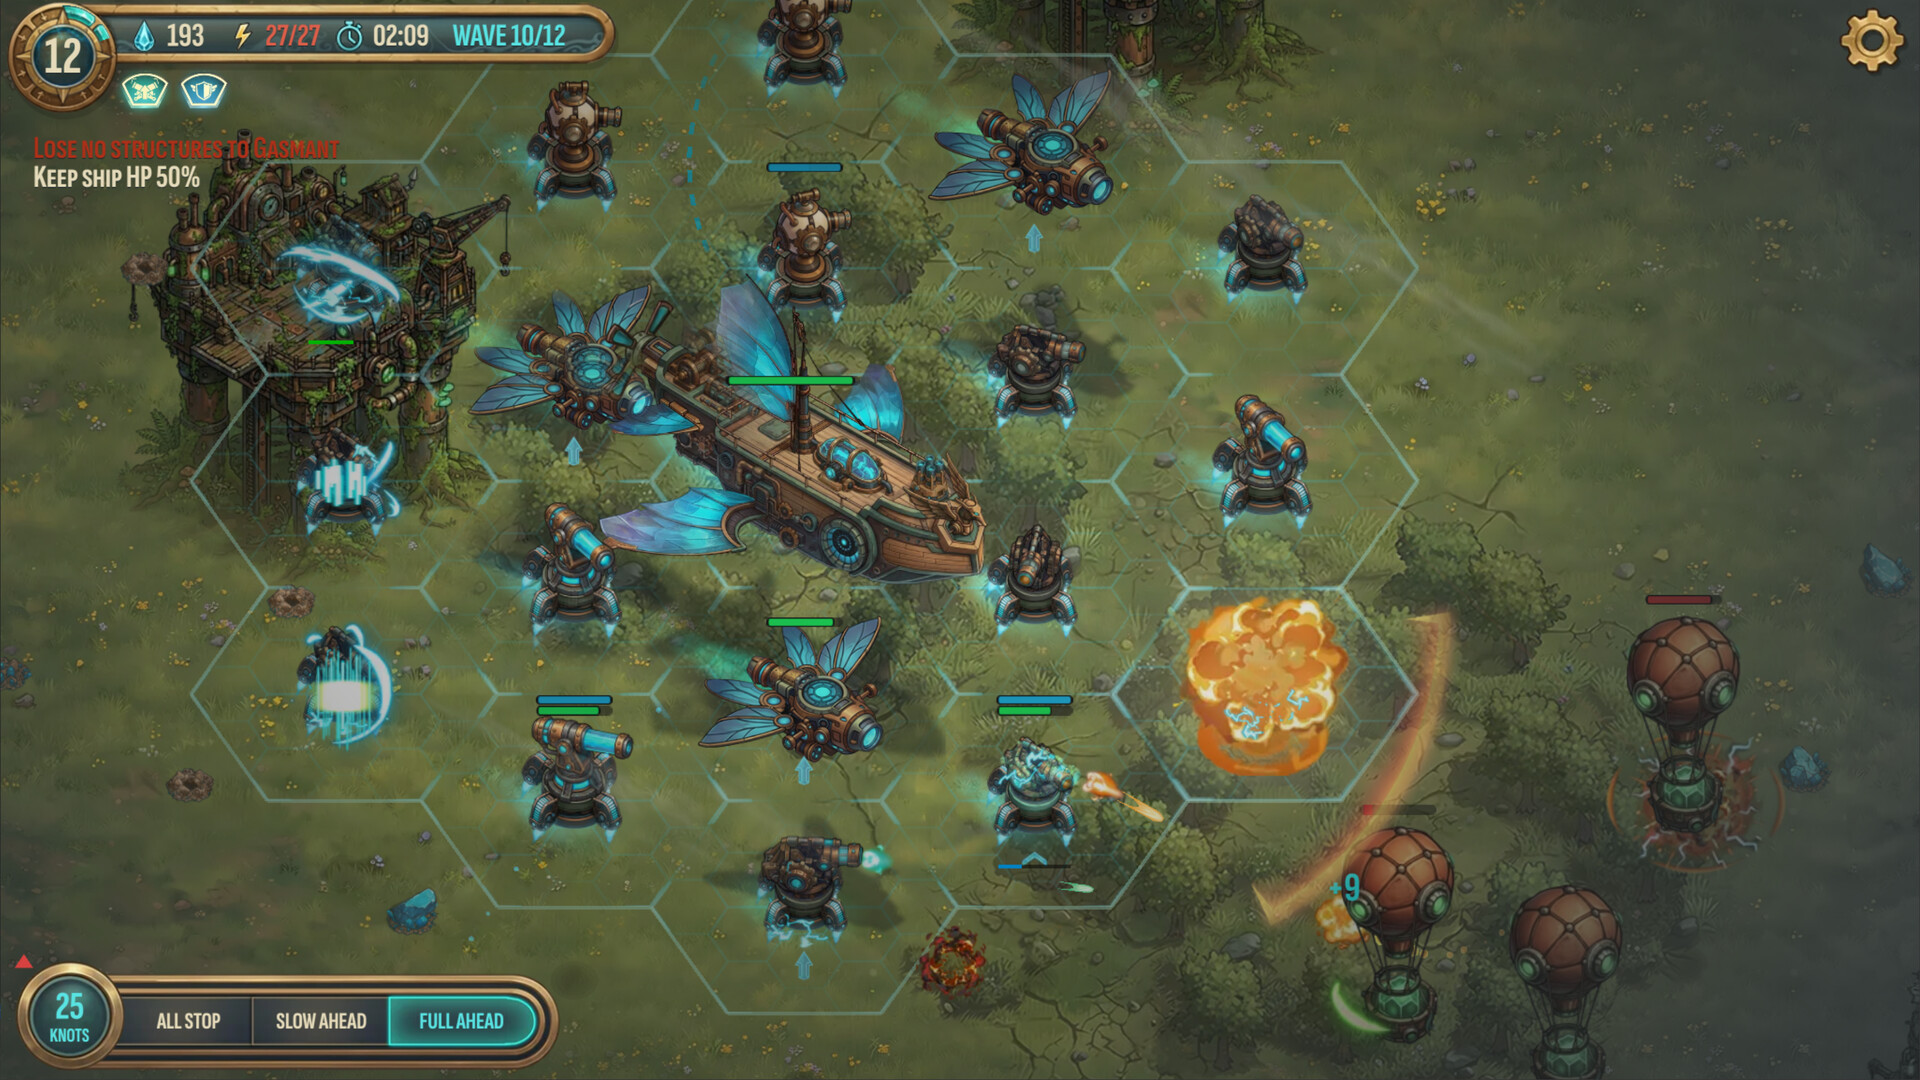
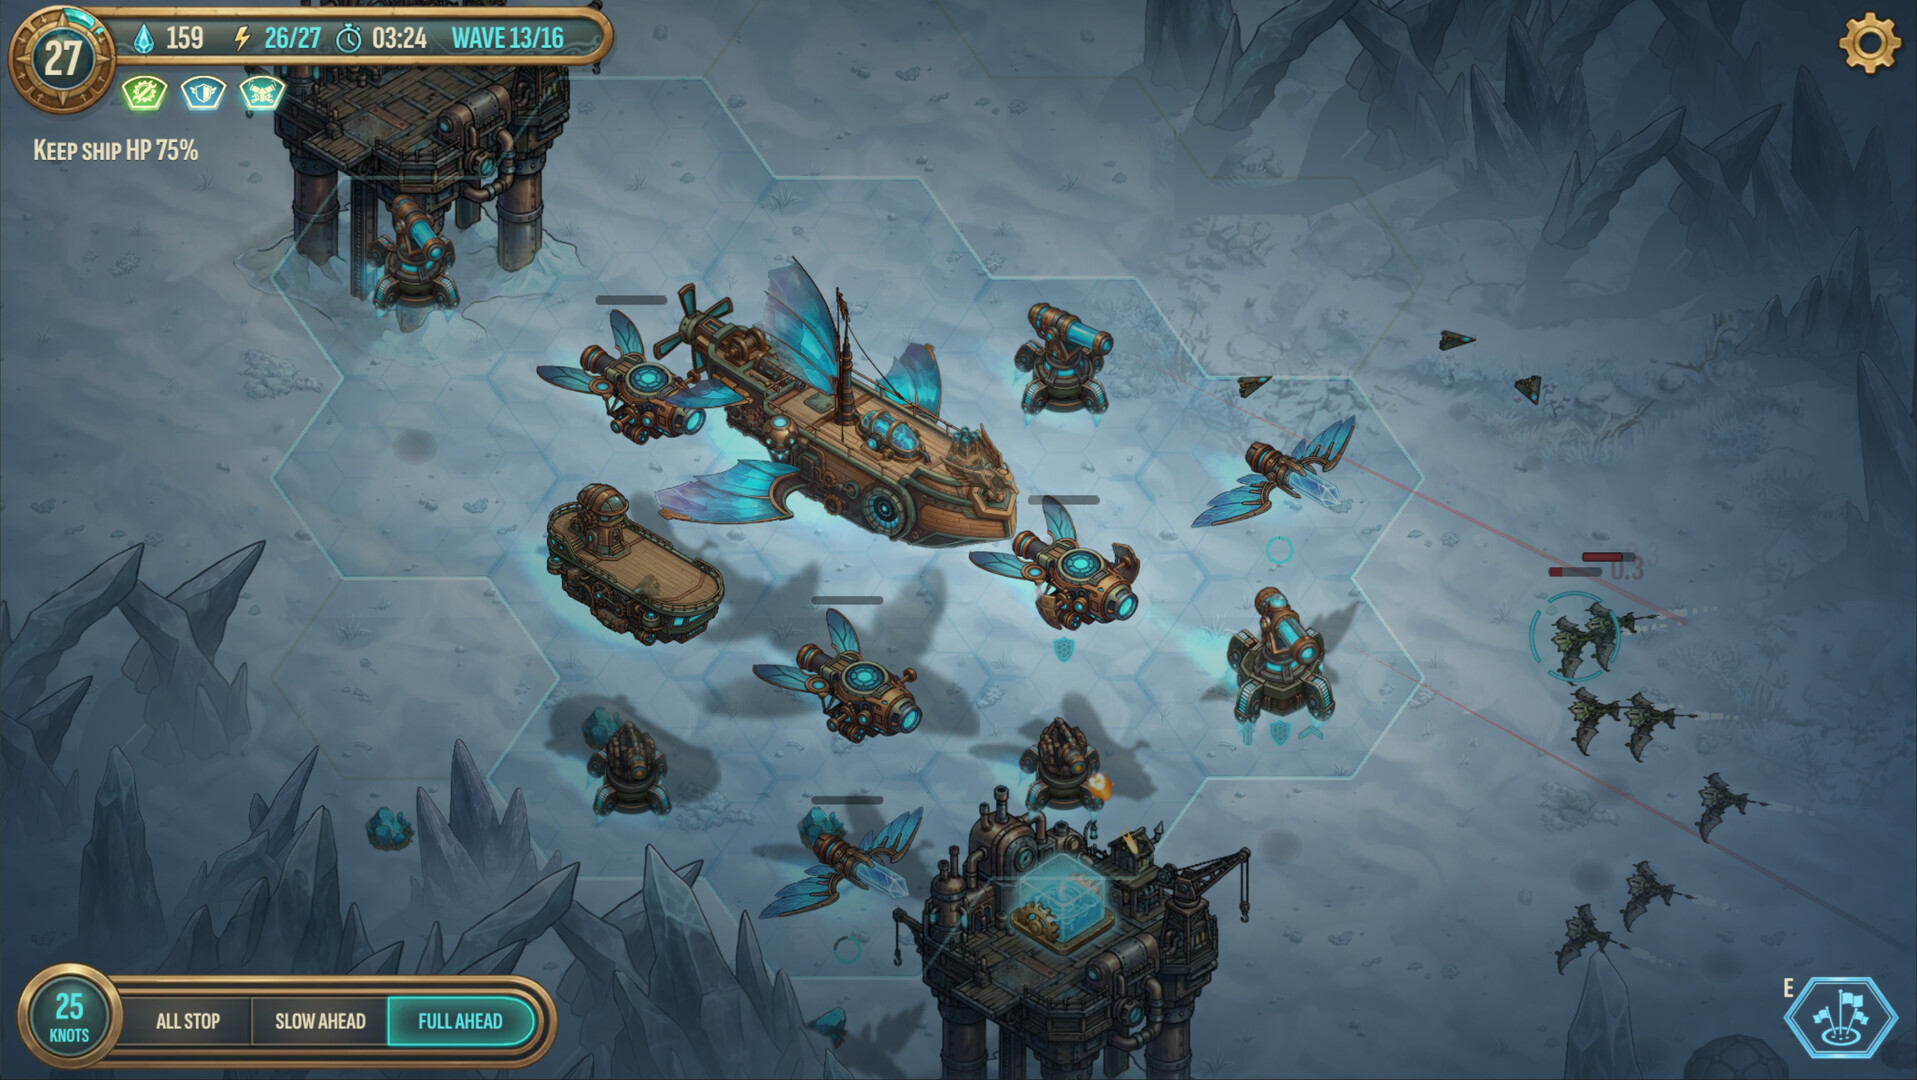
Instead of placing single towers, you create an interconnected network. Collectors spread your territory and feed power to the grid, while turrets fill weak angles and support modules add tactical options. Each placement costs resources, forcing a trade‑off between growth and immediate safety.
A misplaced structure can cut power to an entire sector, leaving that area vulnerable. Because the network relies on continuous power flow, planning redundancy and balancing economic expansion with defensive urgency become essential for staying alive.
- Start with collectors to secure power before adding heavy firepower.
- Check for any sector that loses power when a single node is removed.
02 / THE GUIDE
Ground and Air Mission Types
Ground missions drop Arcadia onto a fixed battlefield dotted with crystal deposits. You place defenses around the ship and hold back waves on a static map, focusing on perimeter strength and resource control.
Air missions keep the ship aloft while the world scrolls beneath. Resources drift past, missile batteries fire from the background, and depot containers appear mid‑battle, letting you reshape your build on the fly. Both modes share the single rule that Arcadia must survive.
- In air runs, prioritize quick‑capture of drifting resources.
- On ground maps, establish a solid perimeter before expanding outward.
03 / THE GUIDE
Enemy Threat Priorities
Each enemy type brings a distinct danger: rushers explode on contact, ranged units circle and fire, heavy armor breaks front lines, saboteurs disable structures, and missile batteries threaten the outer ring. Recognizing these roles guides where you place firepower.
Victory comes from reading the battlefield and reacting to the right threat at the right moment, not from simply stacking the most turrets. Targeted responses to each class keep the network functional under pressure.
- Assign high‑burst turrets to counter rushers.
- Use support modules that can quickly repair or shield against saboteurs.
04 / THE GUIDE
Meta Progression and Arcadia Upgrades
After each battle you earn meta‑progress that can improve Arcadia’s hull, generators, starting resources, turret firepower and drone combat systems. These upgrades turn the ship from a damaged survivor into a fully operational fortress for later missions.
Choosing which systems to strengthen influences future strategy. Stronger generators sustain larger networks, while a tougher hull lets you survive heavier assaults. Balancing defensive durability with offensive output is key to long‑term success.
- Upgrade generators early to support larger defensive webs.
- Pair hull upgrades with firepower improvements to avoid being over‑defended but fragile.
05 / THE GUIDE
Campaign and Challenge Modes
The story campaign introduces new mechanics, structures and defense systems gradually, guiding you through increasing complexity while advancing the narrative.
Challenge mode offers endless waves without a narrative constraint, letting you test and refine builds developed in the campaign. Both modes draw on the same core systems, though their different pacing means strategies may need adjusting between them.
- Experiment with new module combos in the campaign before tackling endless waves.
- In challenge mode, focus on sustainable income to survive long‑term pressure.
COMMUNITY
Player discussion