 GameWiki

GET YOUR BEARINGS
About Helldivers 2
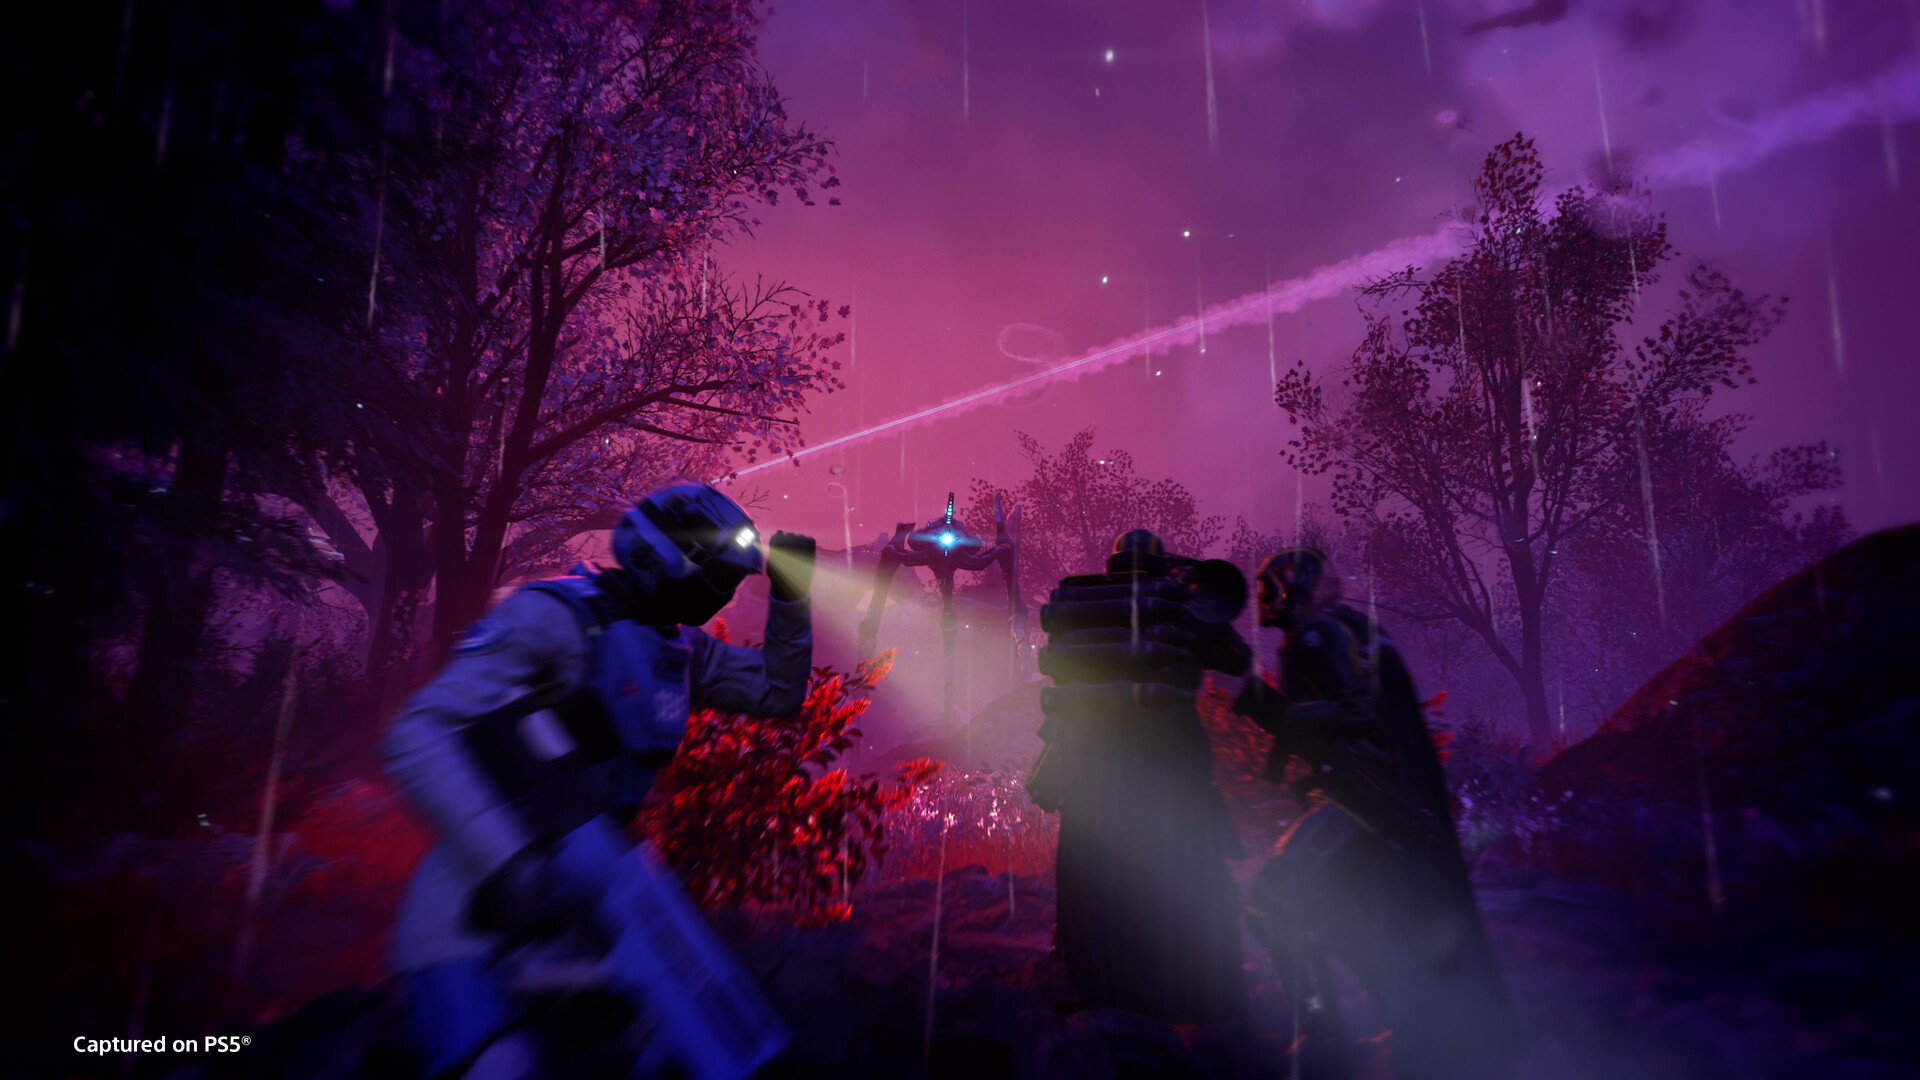
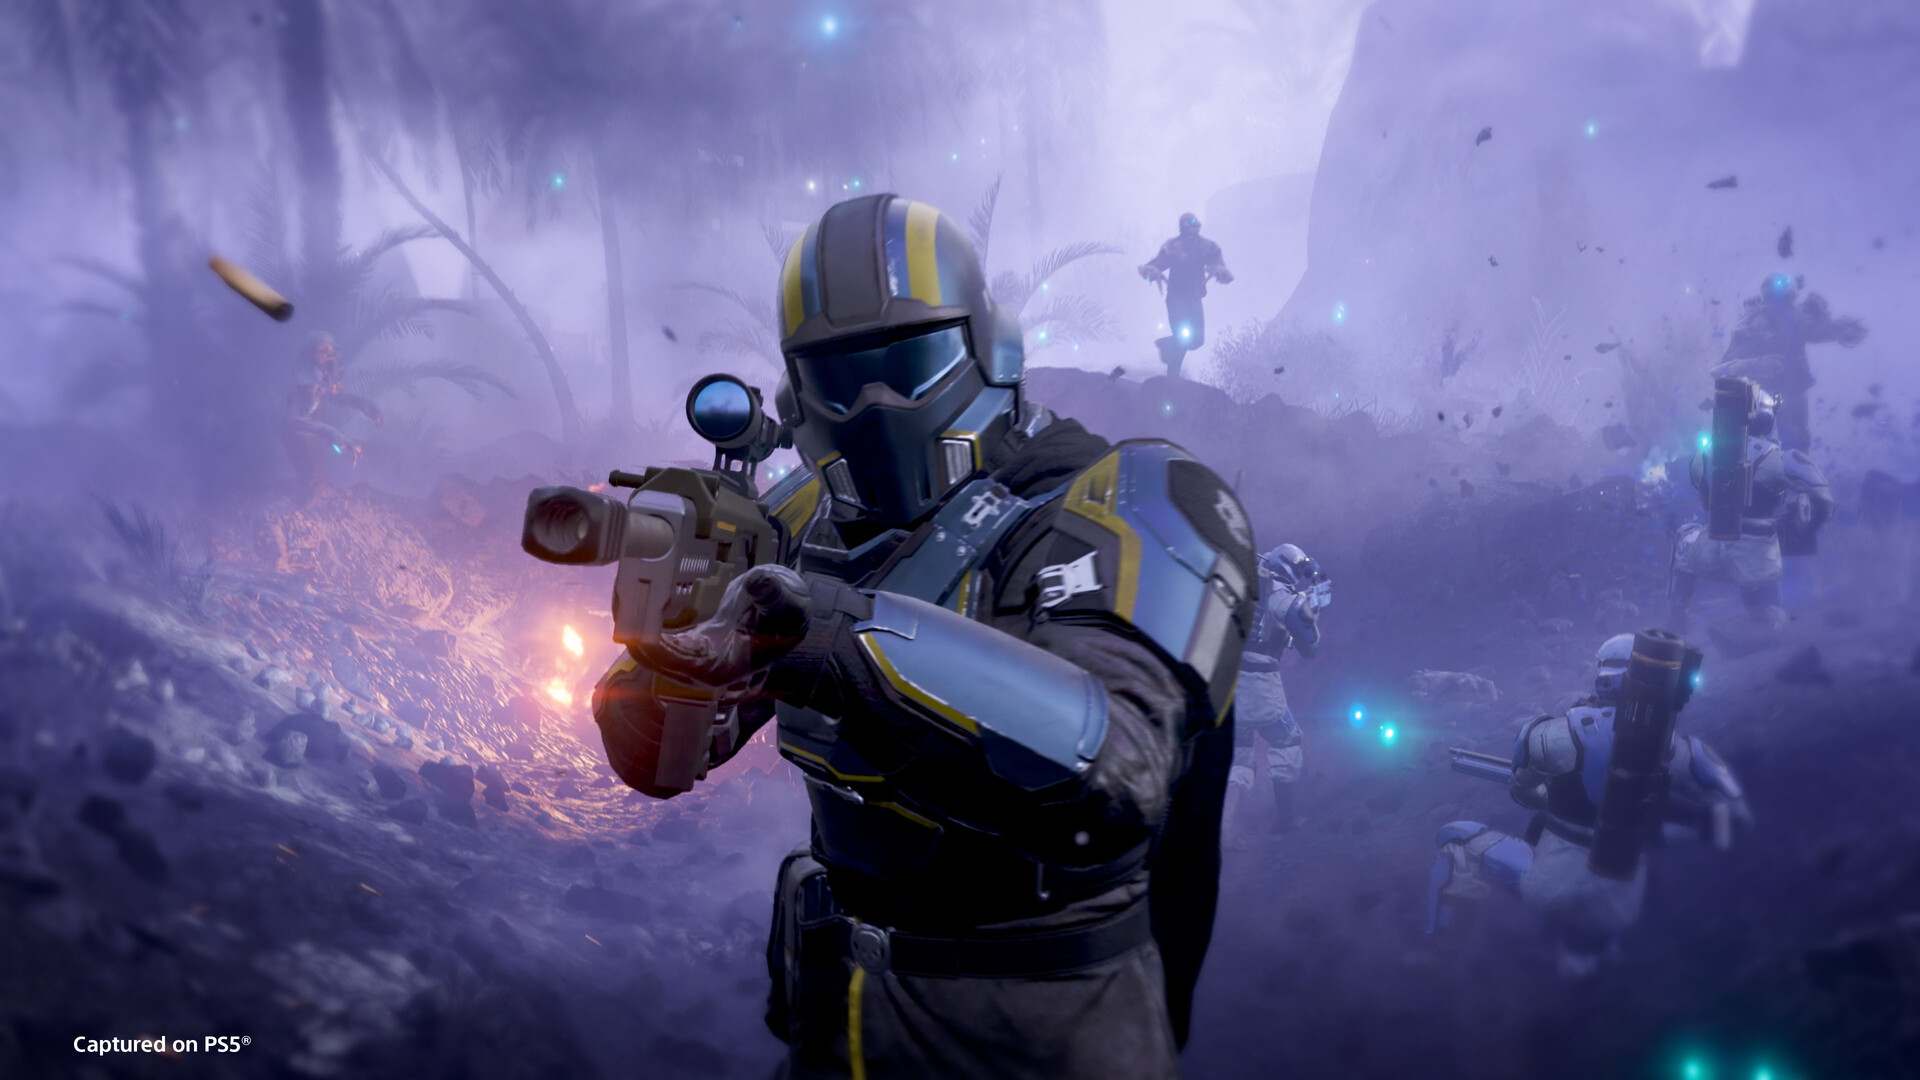
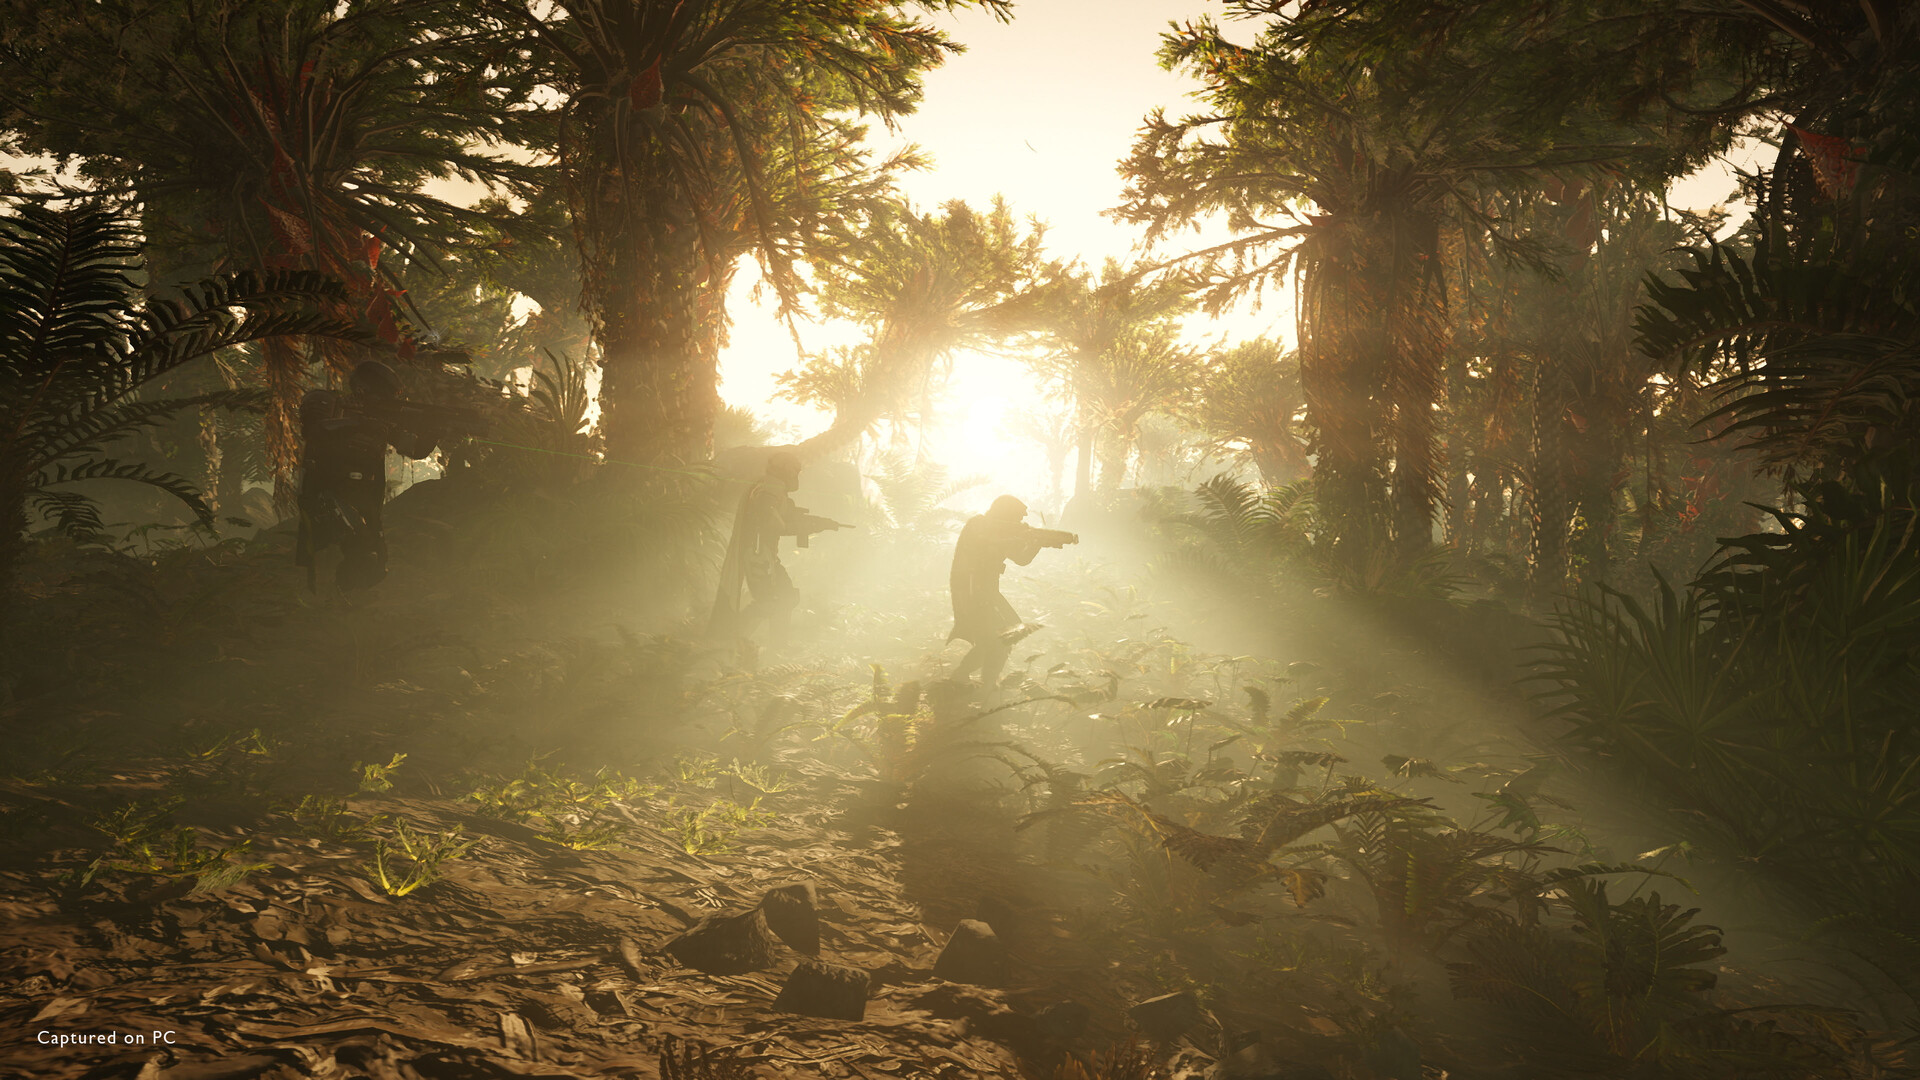
Helldivers 2 is a cooperative third-person shooter in which a squad completes planetary missions using weapons, equipment, and support called down through Stratagems. Its combat asks you to manage objectives and friendly positions alongside the enemy threat. An impressive explosion is only useful if it leaves the team able to continue the operation.
This wiki focuses on loadout roles, objective order, safe support use, and extraction. Enemy balance and the Galactic War change over time, so it avoids a permanent strongest-weapon ranking or a fixed list of current campaigns. Read the mission briefing and equipment descriptions for the operation you are actually joining.
01 / THE GUIDE
Fill the squad's missing job
Read the enemy faction and mission type before choosing equipment. Compare the squad's answers to groups of lighter enemies, armored threats, structures, and recovery. You do not need every individual Helldiver to carry the same solution; a specialized support weapon becomes more useful when another player can protect its reload or cover a different target type.
Choose a primary weapon you can control while moving between objectives, then assign a specific purpose to each Stratagem. Consider ammunition, cooldowns, backpack needs, and what happens when you lose the equipment after a death. A loadout that depends on recovering one distant item needs a workable fallback until that recovery is safe.
- Check the mission briefing before selecting Stratagems.
- Tell the squad what target type you plan to handle.
- Keep a useful response available while support equipment is missing.
02 / THE GUIDE
Route the mission around objectives and time
Identify the primary objective, nearby optional work, and the likely extraction direction before leaving the drop zone. Combine useful tasks along a route instead of repeatedly crossing the same ground. If a side fight stops serving the mission, move toward a position that lets the group disengage rather than treating every patrol as an objective.
At a terminal, read the next instruction and confirm the local area is secure enough to perform it. Give the person using the interface room to act while teammates watch approaches. Reassess the route as time, reinforcements, and supplies change; an optional detour can stop being worthwhile even when it looked attractive at the start.
- Name the next objective before the squad starts moving.
- Watch the approaches while another player works a terminal.
- Leave fights that no longer help complete the mission.
03 / THE GUIDE
Use Stratagems with friendly positions in mind
Offensive support, sentries, supply drops, and reinforcements all change the space around the squad. Check where teammates are moving before throwing a beacon, and call dangerous support early enough for them to react. Friendly fire makes timing and placement part of the equipment's cost, not a minor detail after selecting the strongest-looking option.
Use terrain and approach directions to place support where it can work without blocking the squad's route. Before bringing a teammate back, choose a landing area that gives them a chance to recover and rejoin. If an equipment marker sits inside an active hazard, wait for a safe opportunity instead of spending more reinforcements on immediate repeated recoveries.
- Call the location of incoming dangerous support.
- Avoid placing a sentry across the squad's expected movement.
- Choose a survivable reinforcement location.
04 / THE GUIDE
Match armor penetration and ammunition to the target
Read weapon descriptions for target role and armor penetration rather than judging every tool by its damage number. If a shot fails to solve an armored threat, inspect your angle and equipment choice instead of emptying the same magazine repeatedly. Use an appropriate support option or let the teammate assigned to that target create the opening.
Resupply should support the next objective, not only the person who notices the box first. Communicate shortages and compare immediate survival needs with the distance to the next fight. Reload and recover from cover when possible, and avoid clustering every player in the same small position while the enemy is applying pressure.
- Check penetration labels before a mission against unfamiliar enemies.
- Change angle or equipment when a target resists your shots.
- Share the resupply plan before consuming limited support.
05 / THE GUIDE
Separate mission success from sample recovery
Samples need to reach extraction to contribute their research value, and recovered samples benefit the squad rather than only the player carrying them. Notice dropped sample containers and recover them when the route is safe. A teammate already holding a useful collection should not feel obliged to make the riskiest final detour.
Completing the primary mission and getting everyone onto the extraction transport are related but separate outcomes. At extraction, agree on a defensible position and the point at which the squad will stop searching. Cover the approach, watch the actual boarding situation, and make clear calls when a late reinforcement or dropped container changes the plan.
- Check who is carrying the recovered sample containers.
- Do not compete with teammates over shared sample rewards.
- Agree on a final regroup and boarding plan.
COMMUNITY
Player discussion